How to Insulate a Garden Shed
Transform your garden shed into a cozy, year-round space! Learn how to insulate a garden shed with this comprehensive guide, including tips, tools, and materials.

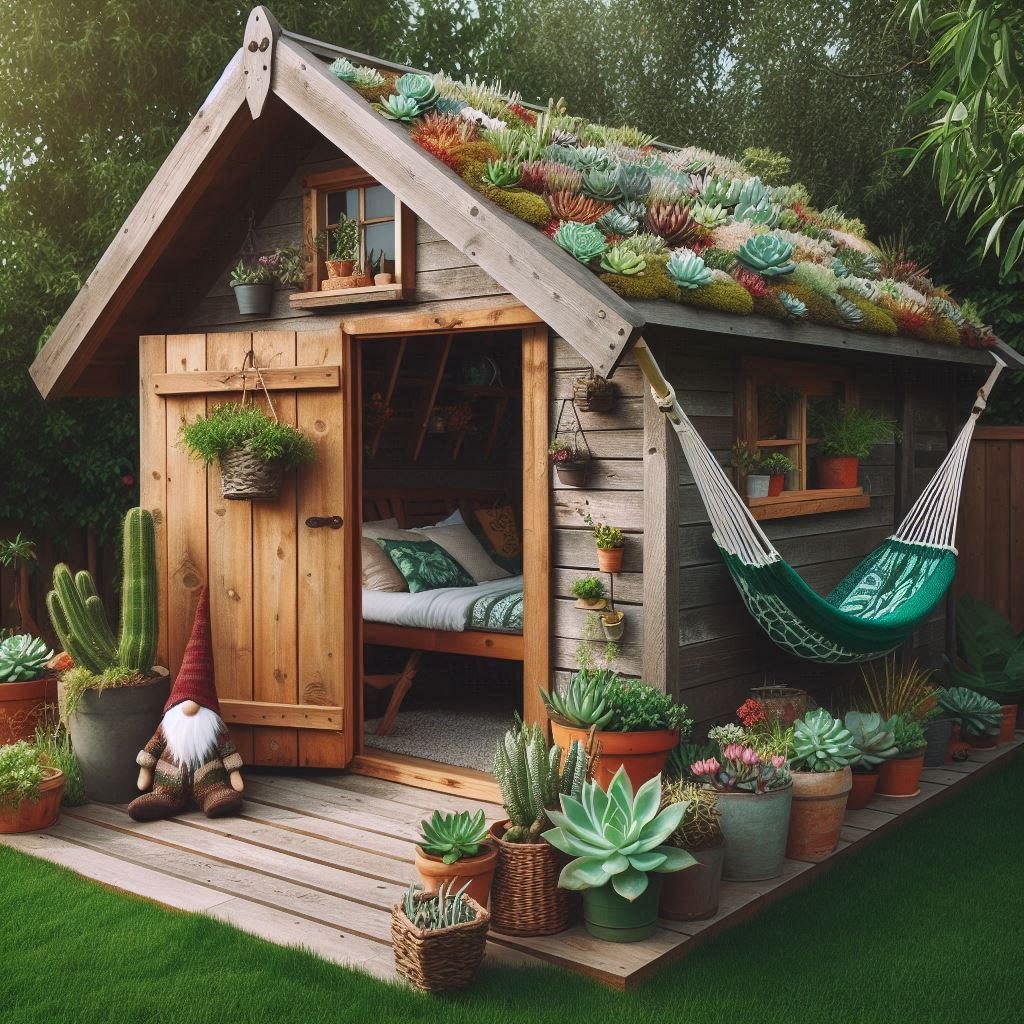
Is your garden shed just a chilly storage box in the winter and a sweltering sauna in the summer? You’re not alone! Many sheds are built for basic storage, but with a little elbow grease, they can become so much more. Whether you dream of a home office, workshop, or just a comfy space to escape, insulation is the key to unlocking your shed’s potential.
In this guide, we’ll walk you through how to insulate a garden shed step by step. From selecting the right materials to tackling tricky corners, we’ll cover everything you need to know to keep your shed snug and functional all year round.
Why Insulate a Garden Shed?
Before we get into the nuts and bolts, let’s chat about why insulating your garden shed is such a smart move.
Temperature Control: Insulation keeps the heat in during winter and out during summer, making your shed usable year-round.
Moisture Management: Helps prevent condensation, which can lead to mold, mildew, and rust.
Energy Efficiency: If you plan to heat or cool your shed, insulation reduces energy costs.
Multi-Functional Space: Makes the shed more comfortable for activities like crafting, woodworking, or lounging.
Adding insulation to your shed is a game-changer, transforming it from a basic storage space into a comfortable, versatile area you can enjoy year-round. Temperature control is one of the biggest benefits—insulation helps retain warmth during the winter and keeps the interior cool during the summer, ensuring the shed remains usable in any season. It also aids in moisture management, preventing condensation that could lead to issues like mold, mildew, or rust. For those planning to heat or cool their shed, insulation boosts energy efficiency, cutting down on utility costs. Whether you’re using the shed for crafting, woodworking, or simply relaxing, proper insulation enhances the comfort and functionality of the space, making it an extension of your home.
Tools and Materials You’ll Need
Here’s a handy checklist to get started:
Tools
Tape measure
Utility knife
Staple gun
Screwdriver or drill
Safety goggles and gloves
Saw (for cutting boards or panels)
Equipping yourself with the right tools is essential for insulating your shed efficiently and safely. A tape measure is indispensable for accurate measurements, ensuring your materials fit perfectly. A utility knife allows you to cut insulation materials with precision, while a staple gun helps secure them in place. For attaching panels or other fixtures, a screwdriver or drill will be your go-to tool. Don’t forget safety goggles and gloves to protect yourself from potential hazards like dust, sharp edges, or insulation fibers. If you’re working with wood or rigid panels, a saw is necessary for clean and precise cuts. With these tools on hand, you’ll be well-prepared to tackle your shed insulation project with ease and confidence.
Materials
Insulation material (more on this below)
Vapor barrier or breathable membrane
Plywood or drywall for interior walls
Sealant or expanding foam for gaps
Nails, screws, or adhesive
Gathering the right materials is a crucial first step in successfully insulating your shed. Start with the insulation material that best suits your needs, whether it’s fiberglass batts, rigid foam panels, or spray foam. To prevent moisture buildup, a vapor barrier or breathable membrane is essential, creating a protective layer against condensation. For a finished look and added durability, use plywood or drywall to cover the interior walls after insulating. Address any gaps or cracks with sealant or expanding foam, ensuring a tight seal that maximizes efficiency. Finally, secure everything in place with nails, screws, or adhesive, depending on the materials you’re working with. With these essentials, you’ll be ready to create a comfortable, well-insulated shed.

Types of Insulation for Garden Sheds
When it comes to insulation, you’ve got options! Here’s a quick rundown of the most popular materials:
1. Fiberglass Batt Insulation
Pros: Affordable, widely available, easy to install.
Cons: Can be itchy to handle—wear gloves and goggles!
2. Rigid Foam Boards
Pros: High R-value (insulation rating), moisture-resistant, easy to cut.
Cons: More expensive than fiberglass.
3. Spray Foam Insulation
Pros: Great for sealing gaps and awkward spaces.
Cons: Pricier and requires professional installation for larger areas.
4. Reflective Foil Insulation
Pros: Lightweight, ideal for roofs, reflects heat effectively.
Cons: Limited effectiveness in extreme cold.
5. Natural Insulation (Sheep Wool, Hemp, or Cotton)
Pros: Eco-friendly and sustainable.
Cons: Can be more expensive and harder to source.
How to Insulate a Garden Shed: Step-by-Step Guide
Now that you’ve got your tools and materials, let’s get to the fun part—actually insulating your shed!
Step 1: Assess Your Shed
Before diving in, take a good look at your shed.
Check for Damage: Repair any holes, leaks, or rot. Insulation is useless if water gets in!
Measure the Space: Measure the walls, ceiling, and floor to calculate how much insulation you’ll need.
Step 2: Seal the Gaps
Use expanding foam or sealant to fill gaps around windows, doors, and between wall panels.
This step prevents drafts and moisture from sneaking in.
Step 3: Install a Vapor Barrier
A vapor barrier keeps moisture from getting trapped in the walls, which can lead to mold.
Staple or tape the barrier directly to the inside of the walls.
Step 4: Insulate the Walls
Cut the insulation material to fit between the wall studs.
Secure the insulation with a staple gun or adhesive.
For fiberglass, ensure the paper side faces inward (toward the warm side).
Step 5: Insulate the Roof
Use reflective foil or rigid foam boards for the roof.
Attach the insulation to the rafters using nails or adhesive.
Step 6: Insulate the Floor
Lay down a breathable membrane to prevent moisture from seeping up.
Fit rigid foam boards or fiberglass insulation between the floor joists.
Cover with plywood or another sturdy material.
Step 7: Add Interior Walls
Cover the insulation with plywood, drywall, or another interior wall material for a polished look.
Secure the panels with nails or screws.
Step 8: Finishing Touches
Check for any missed gaps and seal them with expanding foam or caulk.
Paint or decorate the interior walls to make the space your own!

Tips for a Successful Shed Insulation Project
Work in Sections: Break the project into manageable chunks to stay organized.
Safety First: Always wear gloves, goggles, and a mask when handling insulation.
Don’t Skip the Sealant: Small gaps can make a big difference in temperature control.
Ventilate Properly: If your shed has a heater or other equipment, ensure there’s adequate ventilation.
Insulating your shed is a rewarding project, but tackling it with a clear plan and safety in mind is key to success. To stay organized, work in sections, breaking the job into smaller, manageable tasks that allow for precision and efficiency. Safety first should be your mantra—always wear gloves, goggles, and a mask to protect yourself when handling insulation materials. While it may seem minor, don’t skip the sealant—even small gaps can compromise temperature control, letting in drafts or moisture. If your shed houses equipment like heaters, proper ventilation is essential to prevent buildup of heat or harmful gases. By following these steps, you’ll create a comfortable, well-insulated shed that’s safe, efficient, and ready for use year-round.
Common Mistakes to Avoid
Even seasoned DIYers can make mistakes. Here are a few to watch out for:
Skipping the Vapor Barrier: Without it, moisture can wreak havoc on your insulation.
Using the Wrong Insulation: Match the material to your climate and shed’s purpose.
Not Measuring Accurately: Too much or too little insulation can lead to waste or poor performance.
When insulating your shed, avoiding common mistakes is essential to ensure the project’s success and longevity. One crucial step is not skipping the vapor barrier—without this protective layer, moisture can seep in, damaging your insulation and promoting mold or mildew. Another potential pitfall is using the wrong insulation material; selecting the right type based on your climate and the shed’s intended purpose is key to achieving optimal results. Lastly, inaccurate measurements can derail your efforts—too much insulation leads to waste, while too little compromises performance and leaves gaps. By addressing these issues from the start, you can create a well-insulated, efficient shed that stands up to the elements and serves your needs perfectly.
Conclusion
Insulating your garden shed might seem like a daunting task, but with this How to Insulate a Garden Shed guide, you’ve got everything you need to tackle it like a pro. By following these steps, you’ll create a comfortable, functional space that’s ready for anything—from harsh winters to blazing summers.
Whether you’re transforming your shed into a workshop, office, or cozy hideaway, insulation is the key to making it a year-round haven. So, roll up your sleeves, gather your tools, and get started! Your dream shed is just a few steps away.
Read next: 15 Garden Shed Ideas for Your Backyard
Frequently Asked Questions
1. Do I need to insulate a garden shed?
If you’re using your shed for more than just storage—like as a workspace or retreat—insulation is a game-changer.
2. Can I insulate an existing shed?
Absolutely! Just remove any interior wall panels and follow the steps above.
3. How much does it cost to insulate a shed?
Costs vary depending on materials and shed size, but expect to spend $300-$1,000 for a standard garden shed.
4. What’s the best insulation for a garden shed?
Rigid foam boards are a popular choice for their durability and ease of installation.
5. Will insulating my shed make it completely weatherproof?
Not necessarily! You’ll still need to address leaks, ventilation, and other weatherproofing measures.