How to Repot an Orchid: Step-by-Step Guide
Is your orchid outgrowing its pot? Learn how to repot an orchid with this detailed step-by-step guide. Keep your orchid thriving and blooming beautifully!
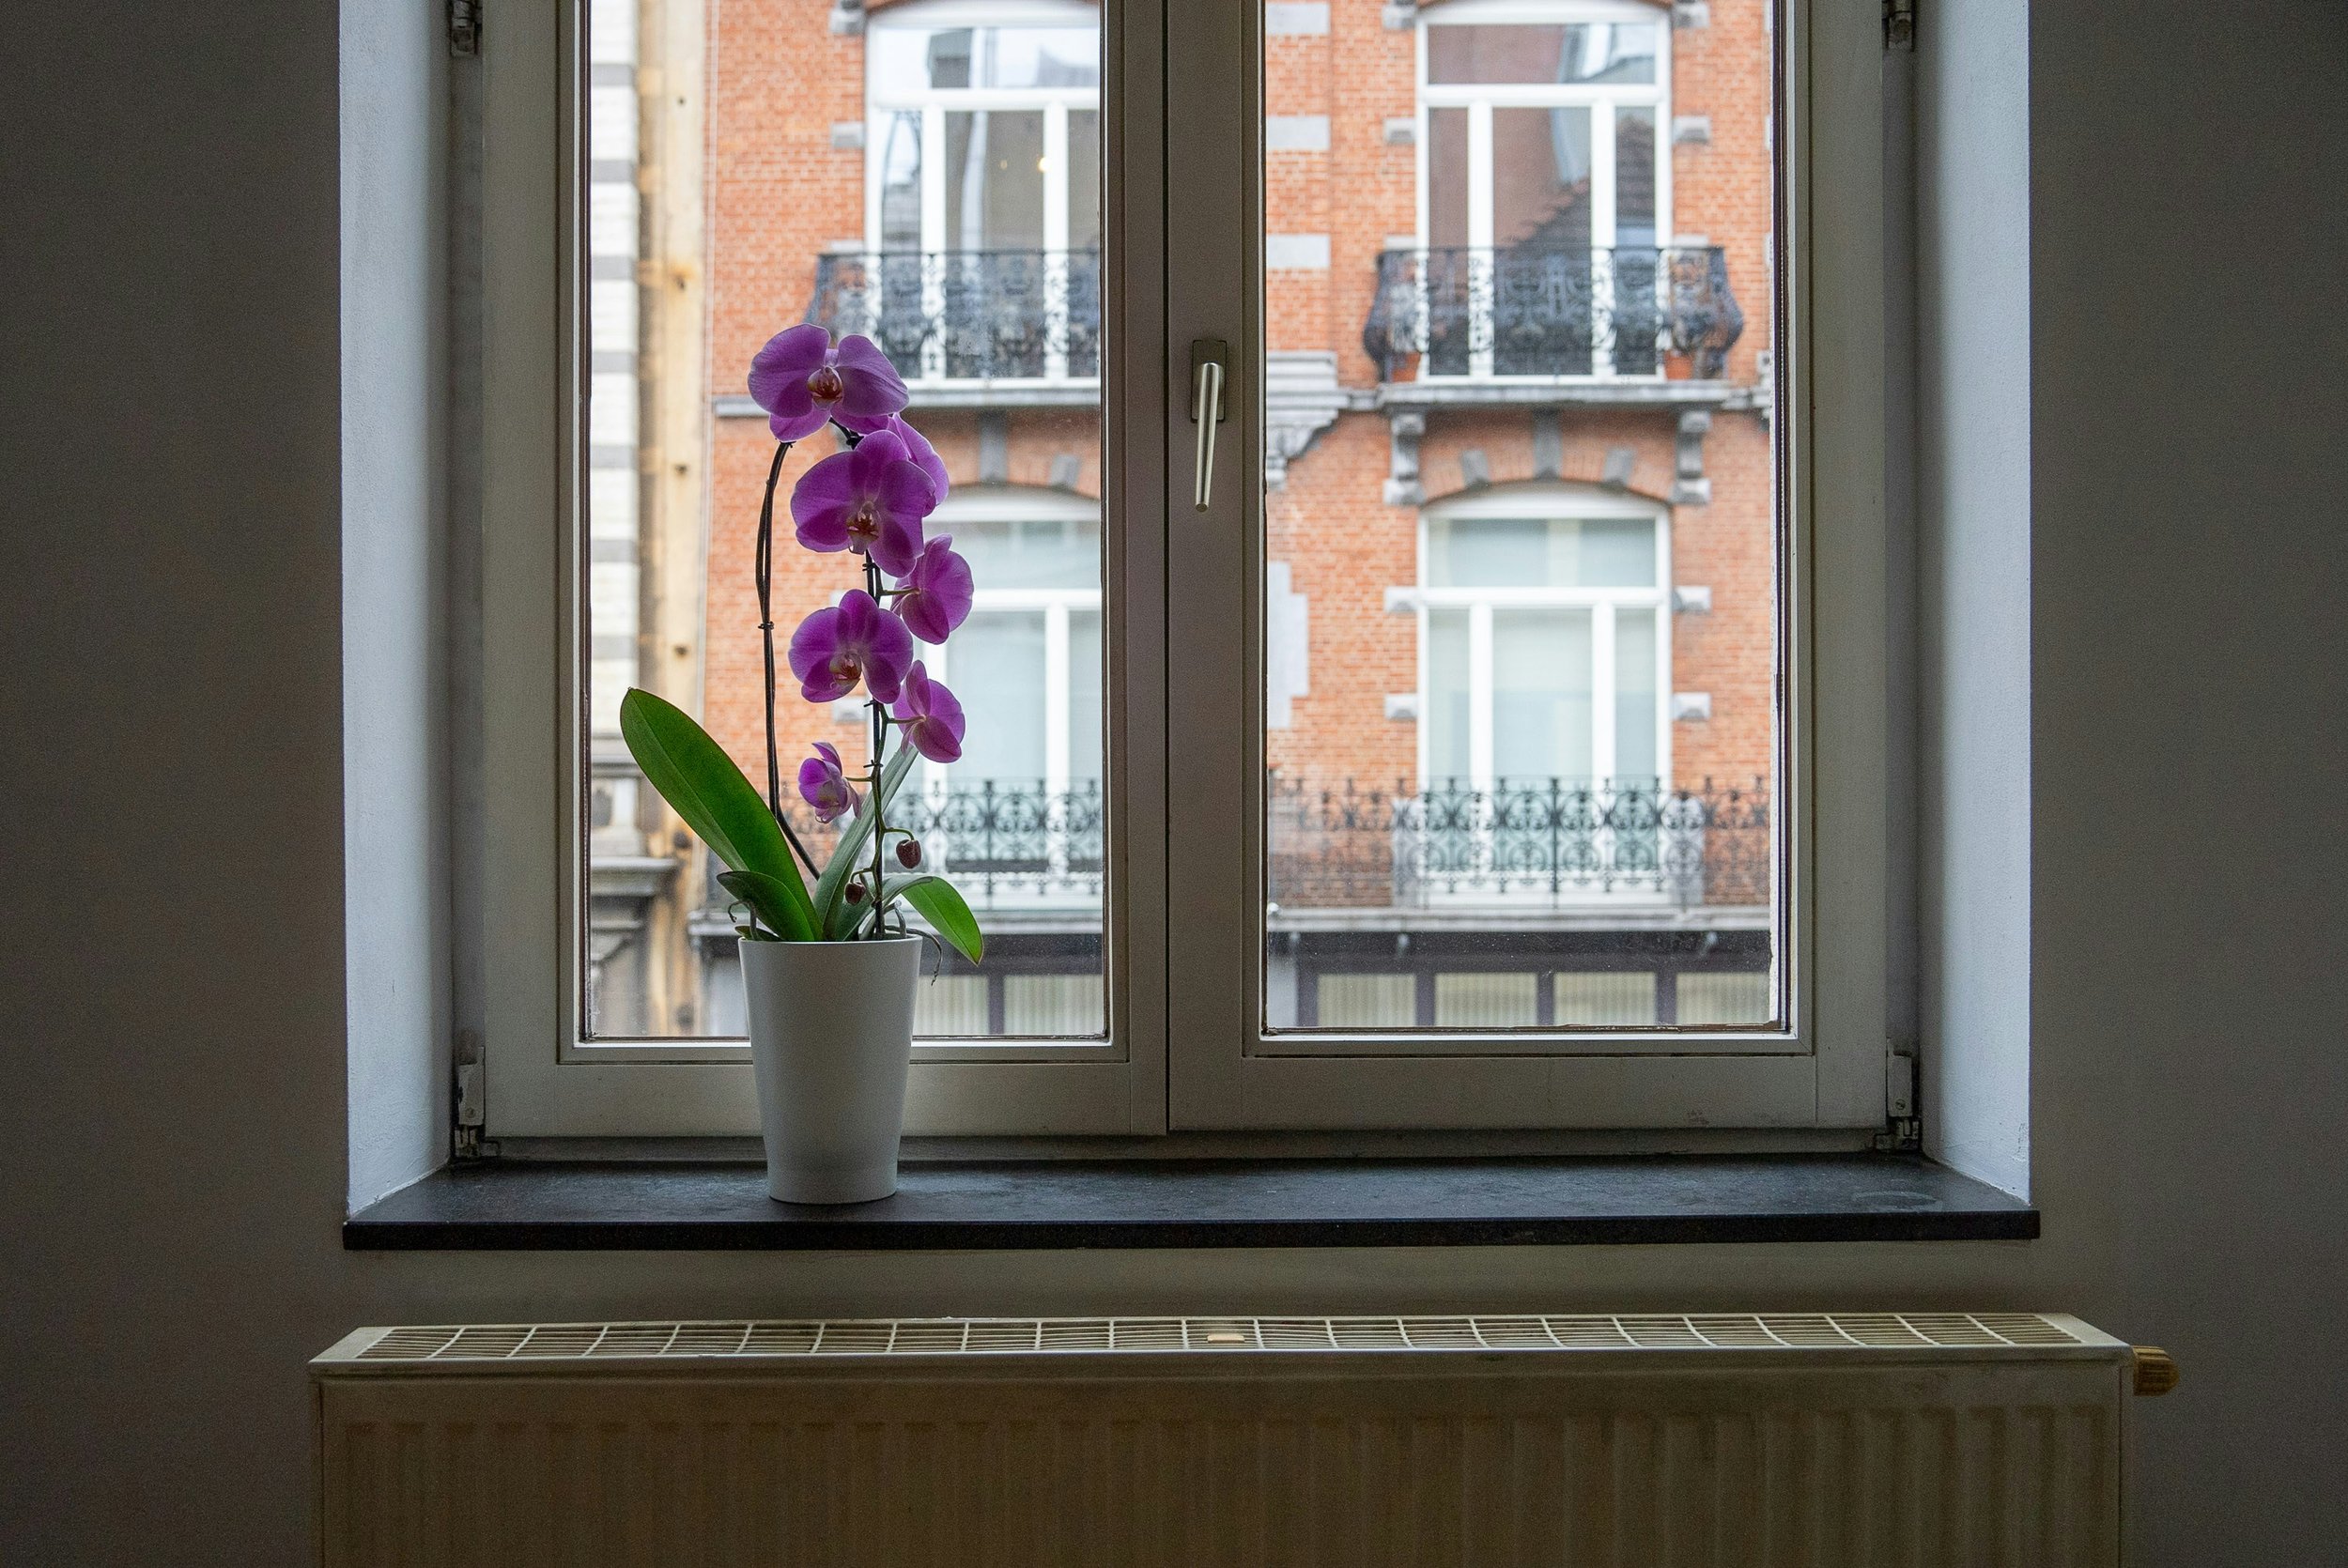
Orchids are elegant, eye-catching plants that add a touch of sophistication to any space. But, let’s face it—keeping them happy can sometimes feel like cracking a secret code. One of the most important tasks in orchid care is knowing how to repot an orchid.
When your orchid starts outgrowing its pot or its roots are looking a little cramped, it’s time to give it a fresh start. Don’t worry—it’s easier than you think! With the right tools and a bit of patience, you’ll have your orchid thriving in no time. This step-by-step guide will walk you through everything you need to know to repot your orchid like a pro.
Why Repotting an Orchid is Essential
Before diving into the nitty-gritty, let’s chat about why repotting is such a big deal:
Encourages Growth: Orchids need space to spread their roots and grow healthily.
Prevents Rot: Old potting mix breaks down over time, retaining too much moisture and increasing the risk of root rot.
Refreshes Nutrients: A fresh potting medium ensures your orchid gets the nutrients it needs.
Boosts Blooms: Healthy roots lead to more vibrant and frequent blooms.
Repotting orchids is a crucial part of their care, ensuring they remain healthy and continue to thrive. Orchids need space to grow, and repotting gives their roots the room they require to spread and develop properly. Over time, the potting mix breaks down, retaining excess moisture that can lead to root rot. Repotting with fresh medium prevents this issue and keeps the plant’s roots dry and healthy. Additionally, a fresh potting mix provides essential nutrients, giving your orchid the resources it needs to flourish. Healthy roots directly contribute to boosting blooms, resulting in more vibrant and frequent flowers. By repotting your orchid when needed, you can promote its overall health and enjoy its stunning blooms for years to come.
When to Repot an Orchid
Timing is everything! Here’s how to know when it’s time to repot your orchid:
Outgrown Pot: Roots are spilling out over the edges.
Decomposing Medium: The potting mix looks broken down or spongy.
Root Issues: Roots appear mushy, dark, or smelly.
After Blooming: Orchids should ideally be repotted when they’re not actively flowering.
Knowing when to repot your orchid is essential for keeping it healthy and vibrant. Several signs indicate it’s time for a fresh pot and medium. An outgrown pot, where roots are spilling over the edges or circling tightly, shows that the orchid needs more space to grow. A decomposing medium, which looks broken down or spongy, can retain excess moisture and suffocate roots, making repotting crucial. Additionally, if you notice root issues, such as mushy, dark, or smelly roots, it’s a sign of rot or poor aeration, requiring immediate attention. The best time to repot is after blooming, as orchids prefer to settle into their new environment during their non-flowering phase. Proper repotting keeps your orchid thriving and blooming beautifully.

Tools and Materials You’ll Need
Before you get your hands dirty, make sure you’ve got the right tools for the job:
Essential Tools
A new pot (with drainage holes!)
Orchid potting mix (bark-based or moss-based)
Pruning shears or scissors (sterilized)
Gloves (optional but handy)
A basin or bowl for soaking roots
Repotting orchids requires a few essential tools to ensure the process is smooth and successful. Start with a new pot that has plenty of drainage holes, as orchids thrive in well-aerated environments. Choose a specialized orchid potting mix, either bark-based for better drainage or moss-based for added moisture retention, depending on your orchid's needs. Pruning shears or scissors are crucial for trimming dead or damaged roots—just make sure they’re sterilized to prevent introducing bacteria or fungi. While optional, gloves can be helpful for protecting your hands during the process. Finally, have a basin or bowl handy for soaking the roots, which softens them and makes it easier to remove the old potting medium. With these tools, your orchid will be ready to thrive in its refreshed setup.
How to Repot an Orchid: Step-by-Step Guide
Ready to get started? Follow these steps to repot your orchid with confidence.
Step 1: Choose the Right Pot
Orchids love a pot that allows their roots to breathe.
Pick a pot that’s slightly larger than the current one but not too big—orchids thrive in snug spaces.
Ensure it has good drainage to prevent soggy roots.
Step 2: Prepare the New Potting Mix
Fresh potting mix is a must.
Soak the orchid mix in water for about 30 minutes to moisten it.
Choose a mix that suits your orchid type (bark for epiphytes, moss for terrestrials).
Step 3: Remove the Orchid from Its Current Pot
Be gentle—it’s all about patience here.
Hold the base of the plant and gently loosen it from the pot.
If the roots are stuck, squeeze the pot or use a knife to carefully loosen them.
Step 4: Inspect the Roots
Now’s the time to play orchid doctor.
Trim away any dead, mushy, or blackened roots using sterilized scissors.
Healthy roots should be firm and white or green.
Step 5: Position the Orchid in the New Pot
Placement is key for a happy orchid.
Hold the orchid in the center of the pot, with its base just below the rim.
Spread the roots evenly inside the pot.
Step 6: Add Fresh Potting Mix
Time to tuck your orchid into its new home.
Add the moistened potting mix around the roots, gently tapping the pot to settle it.
Avoid packing the mix too tightly—orchid roots need airflow.
Step 7: Water the Orchid
Give it a drink to settle everything in place.
Water thoroughly, allowing excess water to drain out the bottom.
Avoid soaking the leaves or crown, which can lead to rot.
Step 8: Place in the Perfect Spot
Your orchid deserves the VIP treatment.
Choose a spot with bright, indirect light.
Keep the orchid in a humid environment, away from drafts or direct sunlight.
Tips for a Successful Repotting
Sterilize Tools: Always clean your scissors or shears to prevent infections.
Don’t Overpot: Orchids don’t like large pots; it can lead to water retention.
Be Patient: Orchids may take a few weeks to adjust to their new pot.
Repotting orchids is a delicate process that requires attention to detail and patience to ensure your plant stays healthy. One of the most important steps is to sterilize your tools—cleaning your scissors or shears prevents the spread of bacteria or infections that could harm your orchid. When selecting a new pot, remember not to overpot, as orchids prefer snug spaces that allow for proper drainage; a pot that’s too large can lead to water retention and root issues. Lastly, be patient after repotting—your orchid may take a few weeks to adjust to its new environment. With care and these thoughtful practices, your orchid will thrive and reward you with beautiful, vibrant blooms in no time.
Common Mistakes to Avoid
Even seasoned orchid lovers make mistakes. Here’s what not to do:
Overwatering: Too much water after repotting can drown the roots.
Skipping the Root Check: Ignoring root health can lead to issues down the road.
Using Regular Soil: Orchids need specialized potting mix—not garden soil!
Repotting orchids requires care and attention to avoid common pitfalls that can harm your plant. One major mistake is overwatering after repotting, which can drown the roots and lead to rot. Orchids need a balance of moisture and airflow, so it’s essential to let the potting mix dry slightly between waterings. Another common oversight is skipping the root check—failing to trim damaged or rotten roots can result in ongoing health issues. Additionally, using regular soil instead of a specialized orchid potting mix is a big no-no. Orchids thrive in bark-based or moss-based mixes that provide the proper drainage and aeration they need. By addressing these critical steps, you can help your orchid adapt smoothly and flourish in its new pot.
Conclusion
Repotting an orchid might seem intimidating, but with this how to repot an orchid: step-by-step guide, you’re fully equipped to handle it like a pro. By providing your orchid with a fresh pot, healthy roots, and a cozy home, you’re setting it up for success.
Remember, a little patience and care go a long way in keeping your orchid thriving and blooming beautifully. So, roll up your sleeves, grab your tools, and give your orchid the fresh start it deserves! Happy gardening!
Read next: How to Water an Orchid: A Step-by-Step Guide
Frequently Asked Questions
1. How often should I repot my orchid?
Generally, repot every 1-2 years or when the potting mix breaks down.
2. Can I repot an orchid while it’s blooming?
It’s best to wait until after blooming, as repotting can stress the plant.
3. What’s the best potting mix for orchids?
Bark-based mix is ideal for epiphytes, while moss-based works well for terrestrials.
4. Should I trim the roots during repotting?
Yes, trim any dead or damaged roots to promote healthy growth.
5. Can I reuse the old potting mix?
No, always use fresh mix to avoid introducing bacteria or fungi.