How to Sharpen Garden Shears with Simple Steps
Discover how to sharpen garden shears with simple steps and keep your tools in tip-top shape. Explore foolproof sharpening techniques, maintenance tips, and FAQs in this in-depth guide for home gardeners.
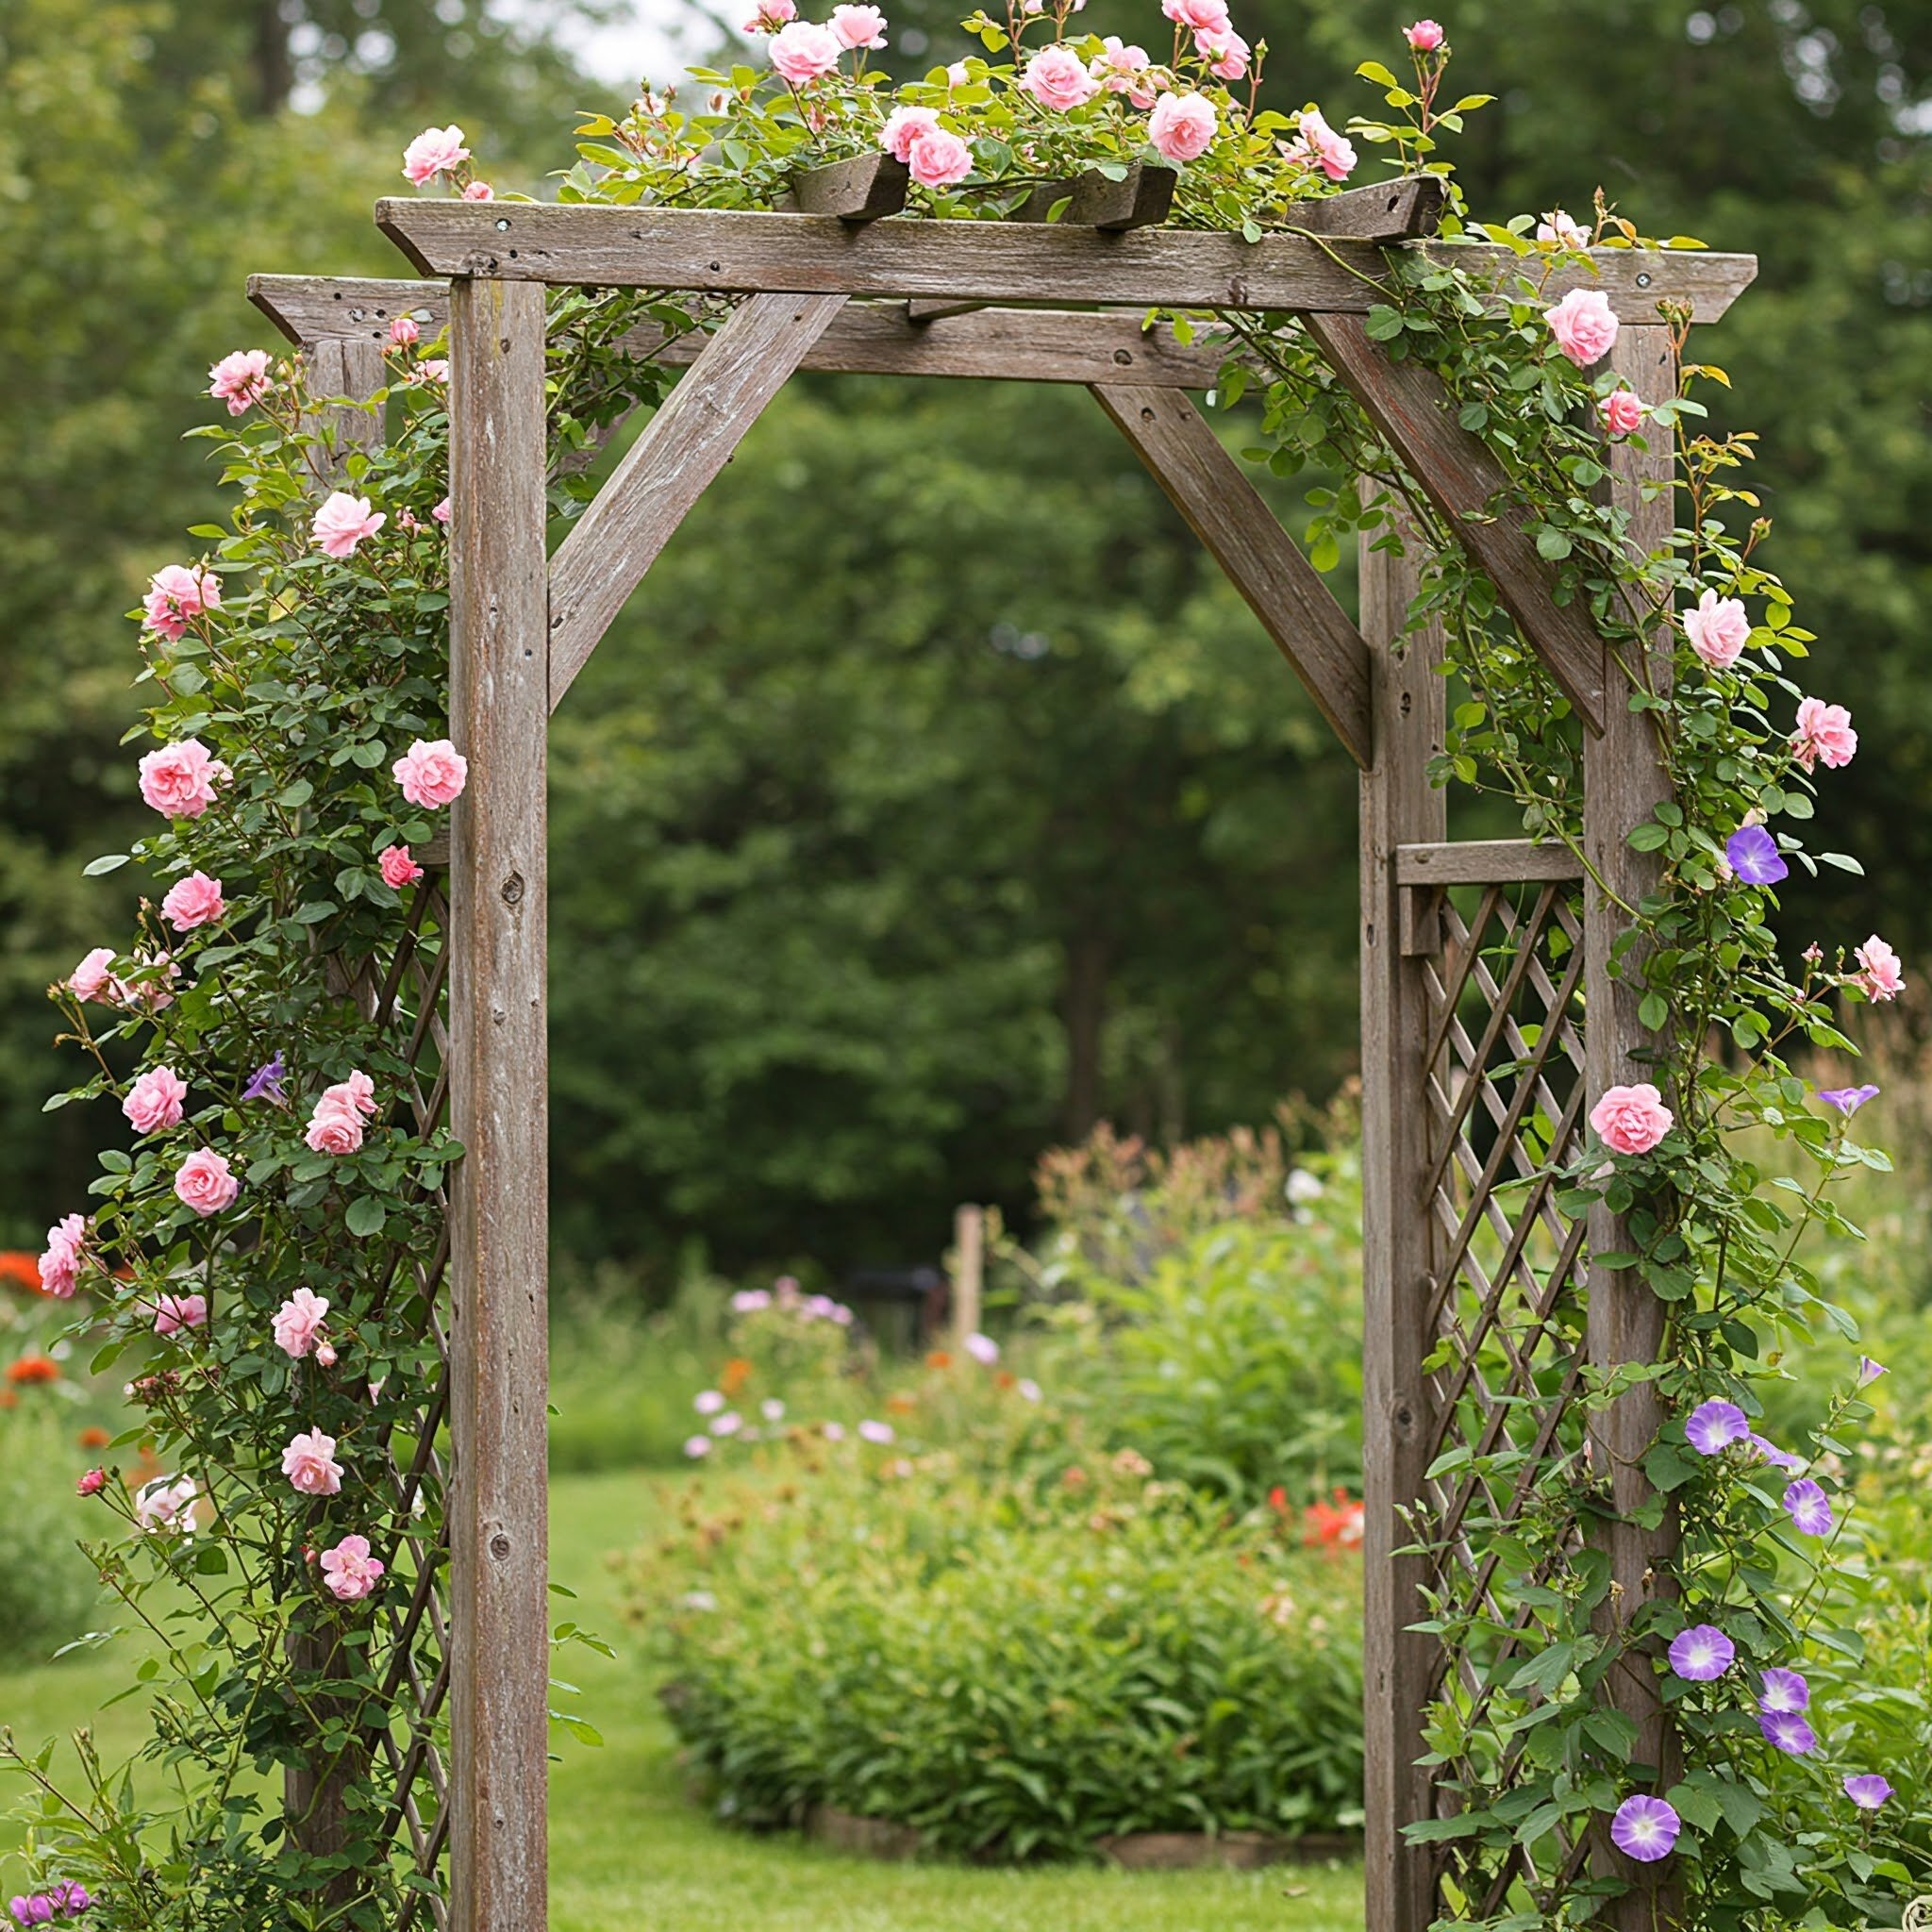
Have you ever tried to prune a rose bush with dull shears and ended up feeling frustrated—like you were practically hacking at the poor plant? Well, join the club. It’s a common conundrum for gardeners everywhere. One day, your trusty shears are slicing through stems like a hot knife through butter. Next thing you know, they’re so blunt you might as well be using a spoon. Yikes!
But don’t fret, my green-thumbed friend. There’s a straightforward solution to getting them back into tip-top shape. You guessed it—sharpening! No matter if you’re a weekend hobbyist or a hardcore horticulturist, learning how to sharpen garden shears with simple steps is essential to keep your garden looking spick and span. Let’s face it, nobody wants a ragged-looking hedge.
Throughout this guide, we’ll look at why sharpening is so crucial, what tools you’ll need, and the exact method for making your shears as sharp as a cat’s claws. By the end, you’ll be so confident in your technique that you might just turn pro. So keep reading, and let’s jump right into the nitty-gritty!
The Basics: Why Sharp Shears Matter
We all know garden shears are a must-have in any gardener’s toolbox. However, it’s easy to overlook their maintenance when you’re busy planting or weeding. Why not just replace them when they get dull, right? Wrong. Here’s why sharp shears are so darn important.
Cleaner Cuts Mean Healthier Plants
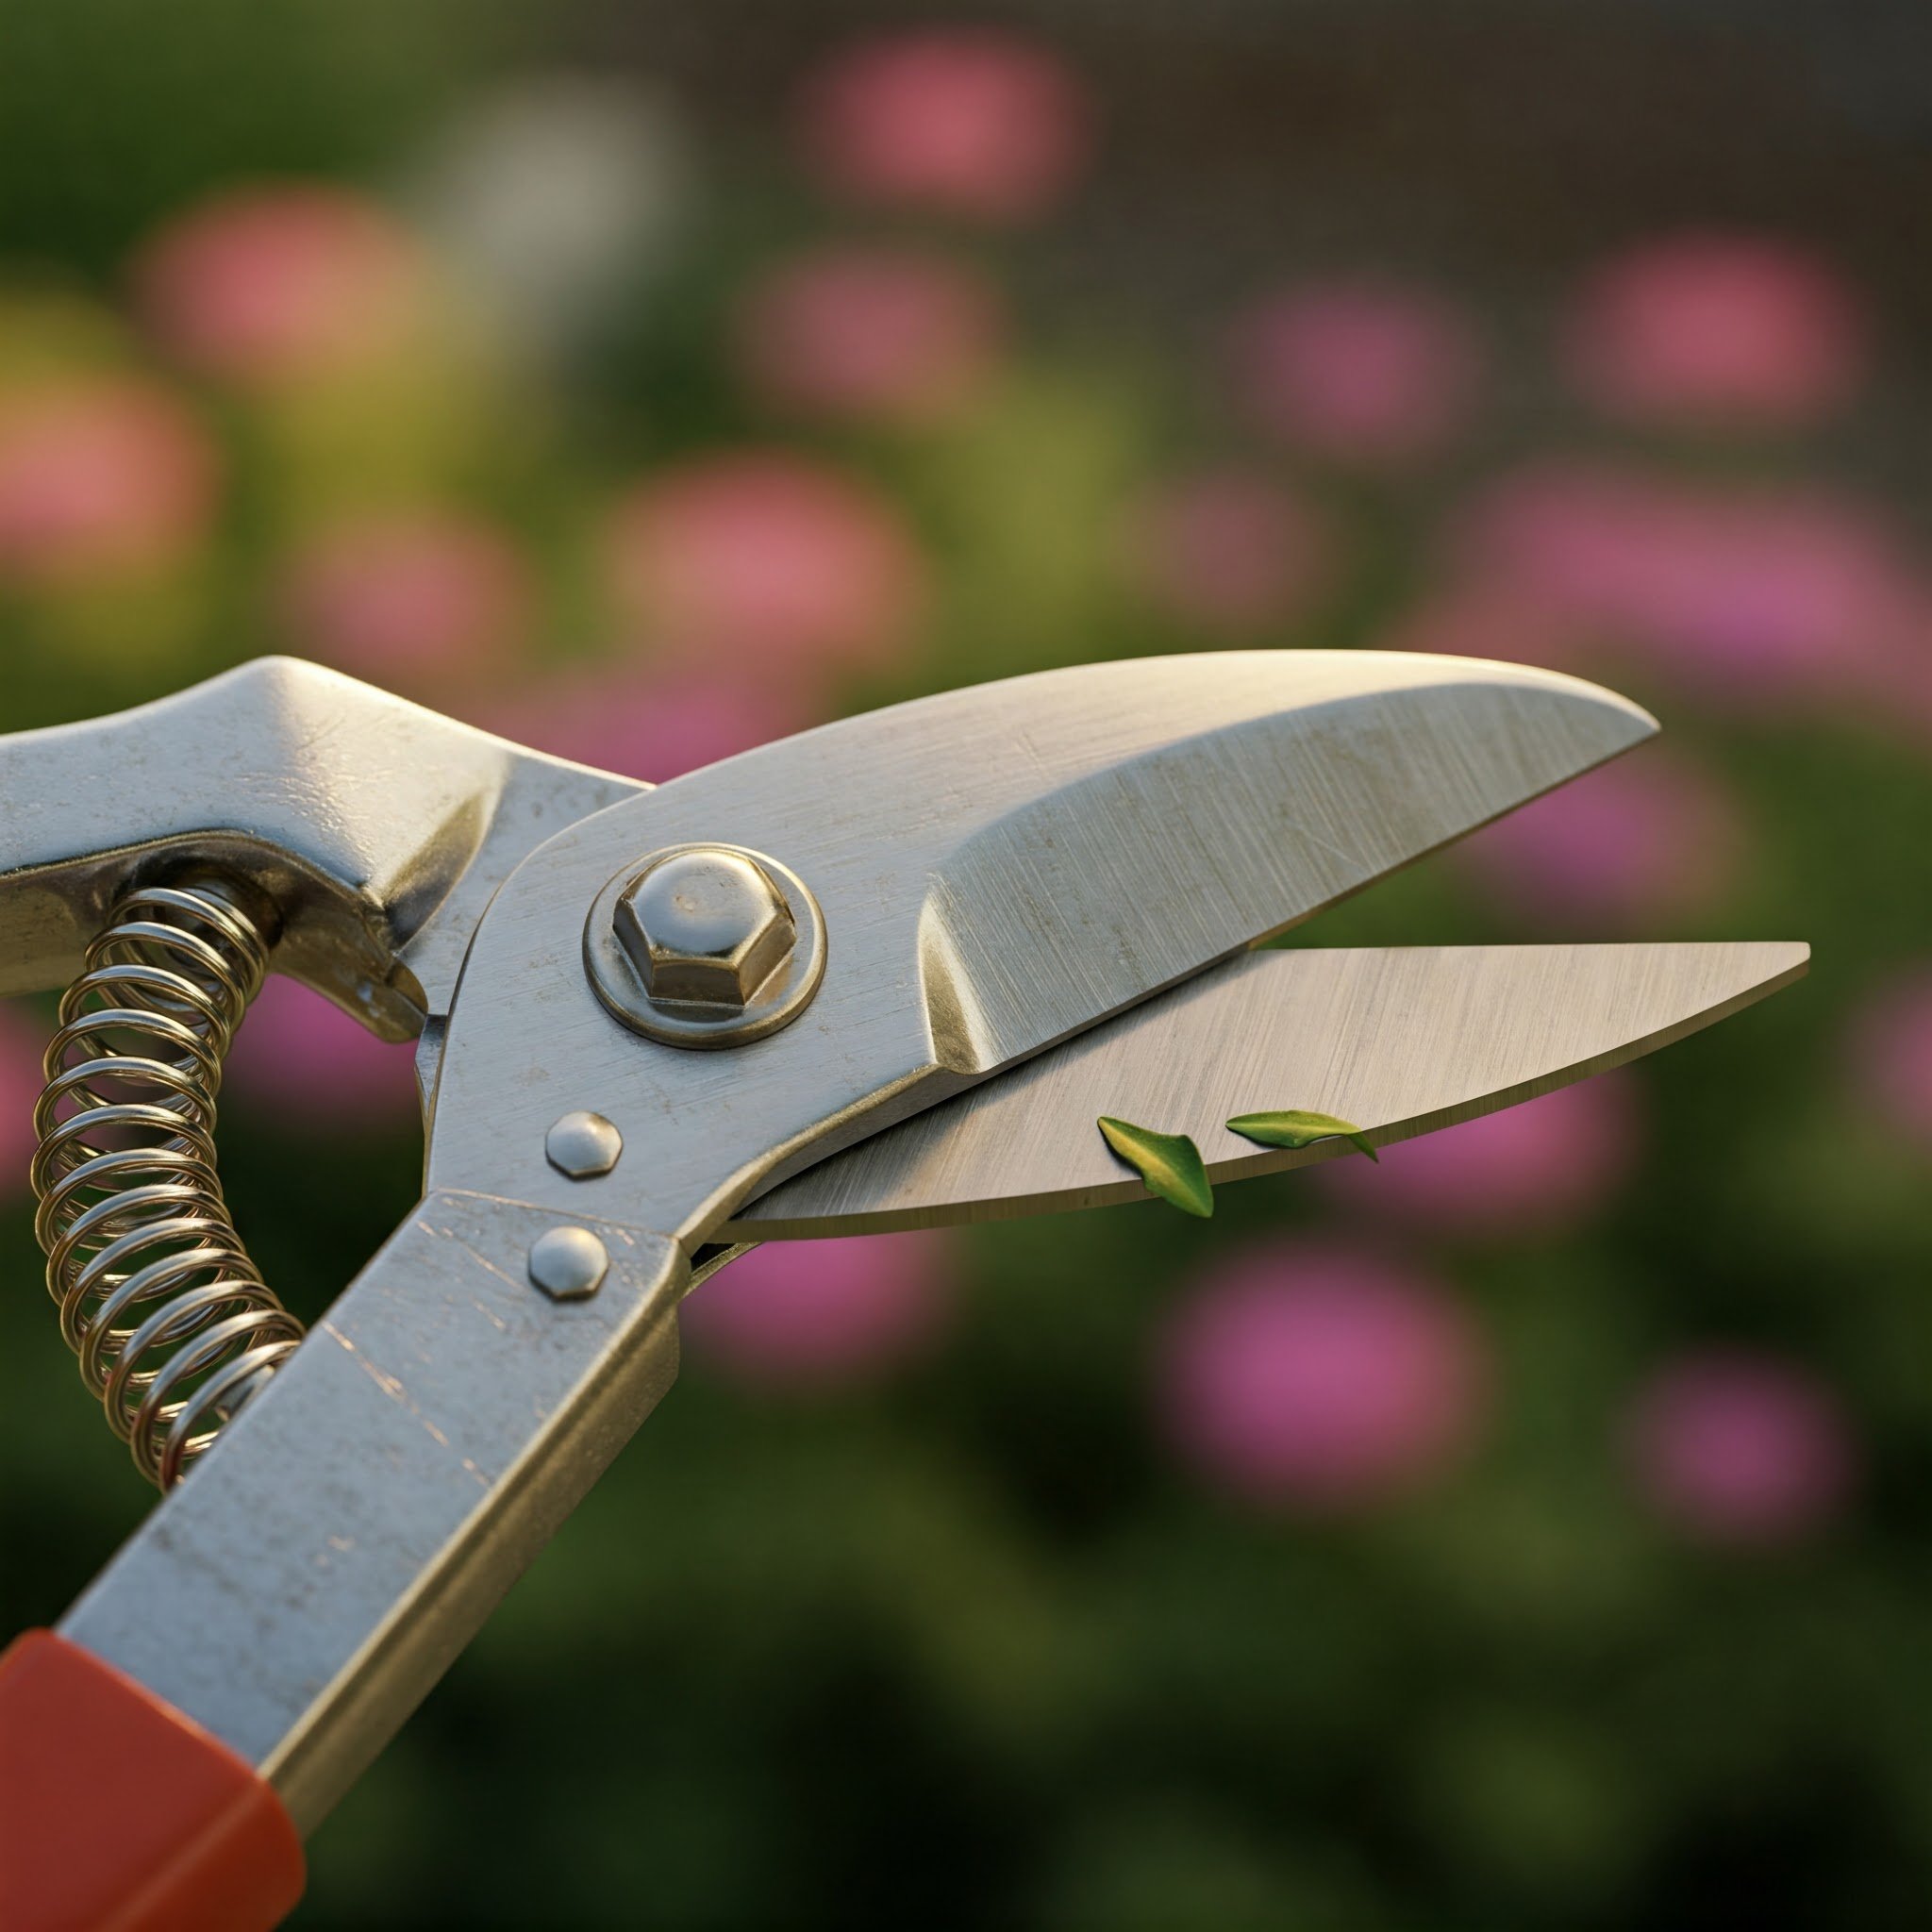
When your shears are sharp, they slice through stems smoothly, leaving a clean cut. This reduces the chance of plant tissue damage and minimizes the risk of disease entering through ragged edges. In other words, sharp shears keep your plants healthier.Less Effort for You
Isn’t it frustrating when you have to use brute force to snip a little stem? With sharp shears, you won’t have to bust a gut every time you prune. This saves you energy and reduces strain on your hands and wrists.Longer Lifespan for Your Tools
Regular maintenance extends the lifespan of your shears, ultimately saving you money in the long run. A little TLC goes a long way toward ensuring you won’t have to replace them as often.An Overall More Enjoyable Gardening Experience
Let’s be honest—gardening should be relaxing and fun, right? Sharp tools let you glide through your tasks, leaving plenty of time for you to kick back and appreciate your handiwork.
So, if you’ve been on the fence about learning how to sharpen garden shears with simple steps, these benefits might just tip the scales. By the time you’re done reading this, you’ll see it’s not only doable but also downright satisfying!
Tools and Preparations
Before you dive in, it’s important to gather all the necessary equipment. After all, no one wants to start a project, only to realize they’re missing a key piece of the puzzle. So let’s outline what you’ll need.
Gather These Tools
A Bench Vise (Optional but Handy): While not strictly required, a bench vise can make your life much easier. It holds the shears firmly in place, allowing you to focus on the sharpening process.
A File or Sharpening Stone: The type of sharpening tool you choose depends on your preference. Some gardeners swear by a whetstone, while others prefer a basic metal file. Either works, so pick whichever you’re more comfortable using.
Steel Wool or a Stiff Brush: This helps to remove any dirt and rust before you begin sharpening.
Lubricating Oil: A good lubricant keeps the pivot mechanism moving smoothly and prevents further rust.
Protective Gear: Gloves and safety goggles are highly recommended. After all, your safety is paramount when you’re handling sharp tools.
Clean, Inspect, Repeat
Clean
Before starting, give your shears a good wash or wipe-down to remove plant residue and dirt. You’d be surprised how much gunk can accumulate on those blades.Inspect
Check for any visible damage. Are there deep nicks or cracks in the blades? If so, you might need to replace the blades or the entire tool, depending on the severity.Repeat
Once you think everything’s clean, do a quick second check. Dirt can hide in corners, so don’t rush. A thorough inspection ensures you won’t miss any problem spots.
With all that out of the way, let’s tackle the main event—actually sharpening your shears. Brace yourself: it’s easier than you think, and you’ll wonder why you didn’t master these steps sooner.

Step-by-Step: How to Sharpen Garden Shears with Simple Steps
Now, we’ve arrived at the moment you’ve been waiting for. Follow these steps to get those blades back in peak condition. Keep in mind, there’s no need to stress over perfect technique on your first go. Practice makes perfect, and you’ll improve each time you do it.
Step 1: Secure Your Shears
If you have a bench vise, secure the shears by clamping them. The goal is to have the cutting edge facing upward and stable so it doesn’t slip and cause an injury. If you don’t have a vise, you can hold the shears firmly on a sturdy surface—just be extra careful.
Step 2: File or Stone, Your Choice
Grab your preferred sharpening tool. If you’re using a file, hold it at a 20–30-degree angle relative to the blade. If it’s a whetstone, make sure it’s lubricated with either water or oil, depending on the type of stone.
Filing Away
Move the file away from your body in smooth, even strokes, working from the base of the blade toward the tip.
Aim for 5–10 strokes, then inspect the blade to see if it’s sharpening properly.
If you notice significant dullness, you might need a few more passes.
Stone Method
Hold the whetstone at the same 20–30-degree angle.
Slide the stone along the blade in a single direction for consistency.
Keep the pressure even and moderate. If you push too hard, you risk taking off more metal than necessary.
Step 3: Flip and Repeat
Once you’re satisfied with one side of the blade, flip the shears over and repeat. Be mindful that some shears have only one beveled edge, meaning you might only need to sharpen one side. Double-check your specific model.
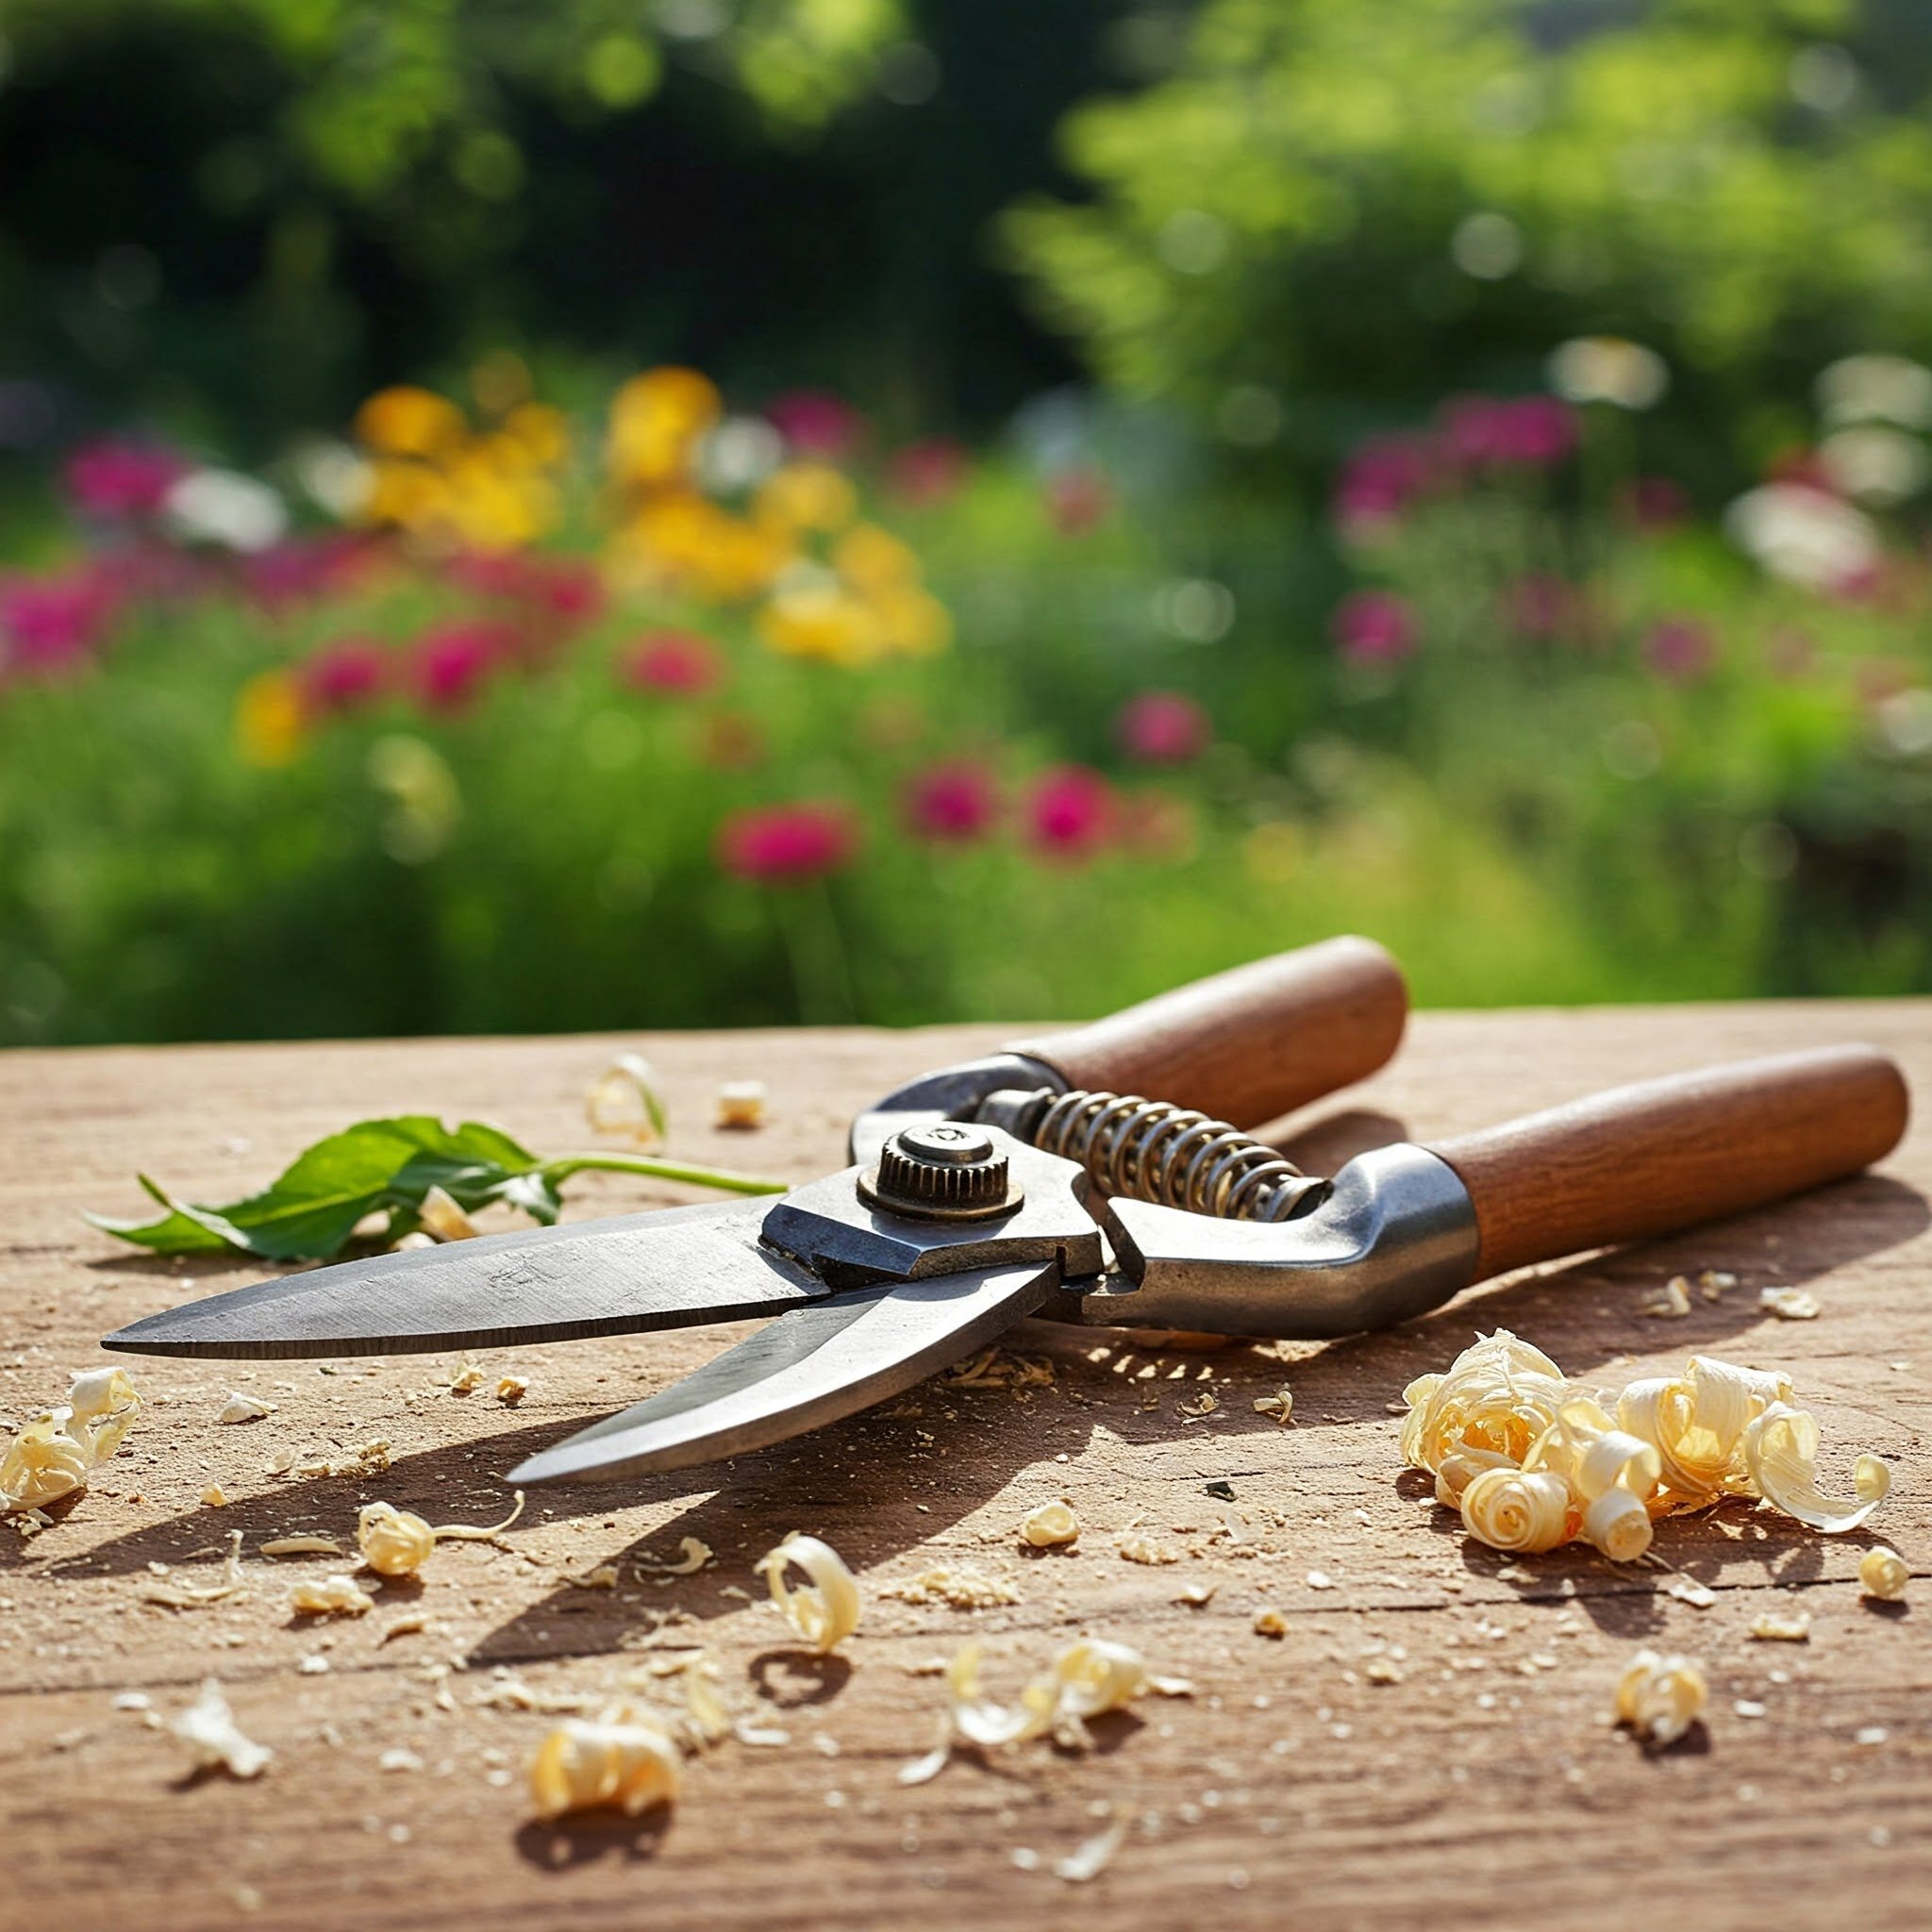
Step 4: Smooth Out the Burr
After sharpening, you may notice a tiny “burr” or metal edge on the blade. To smooth it out, you can use fine-grit sandpaper or the reverse side of your sharpening stone. Just a couple of gentle passes typically does the trick.
Step 5: Clean and Oil
With the heavy lifting done, wipe down the shears to remove any metal filings. Then, apply a light coating of oil—particularly around the pivot point. This step helps protect the blades and keeps them operating like new.
That’s it—you’ve just learned how to sharpen garden shears with simple steps! By following these guidelines, you can maintain those blades and ensure they last for years. By all means, go ahead and celebrate this little victory!
Additional Maintenance Tips
Now that your shears are sharper than a tack, you might want to keep them that way. After all, nobody’s got time to sharpen every single weekend. Here are some quick tips that’ll have your garden shears lasting through many growing seasons:
Regular Cleaning
Wipe the blades after each use to remove sap and debris. This prevents grime from sticking and later forming rust.
If the shears get particularly dirty, give them a quick wash with warm, soapy water. Dry immediately to avoid corrosion.
Store Properly
Find a cool, dry place to store your shears.
Hang them if possible. If they’re tossed haphazardly in a bin, the blades might dull faster or sustain damage.
Occasional Lubrication
A few drops of oil on the pivot and the blades every now and then keep things moving smoothly.
If the handle is squeaking or sticking, a light oil application works wonders.
Sharpen on a Schedule
Mark your calendar if you’re the forgetful type. For moderate gardening, sharpening once or twice a season is usually sufficient.
If you’re a heavy-duty user, you might need more frequent tune-ups.
Inspect for Damage
Always examine your shears before and after use.
Address any signs of damage—like cracks or deep nicks—immediately. A small problem, if left unchecked, can become a big headache down the line.
By incorporating these tips, you’ll keep your shears in prime condition and minimize the need for frequent sharpenings. Talk about a win-win!

Common Mistakes to Avoid
Before we move on to the frequently asked questions, let’s point out a few blunders that novice (and sometimes even veteran!) gardeners tend to make. Avoid these, and you’ll be in stellar shape.
Skipping the Cleaning
Sharpening dirty blades is like trying to paint on a muddy canvas. You won’t get good results. Always clean first.Using the Wrong Angle
Holding your file or stone at too steep or too flat an angle can ruin the blade’s bevel. Aim for that 20–30-degree sweet spot.Applying Excessive Force
Pressing too hard can remove more metal than needed. This not only shortens the lifespan of your shears but also leads to uneven edges.Forgetting to Oil
Sharpening strips away protective coatings. Without a light layer of oil, your blades are more susceptible to rust.Neglecting Safety
Failing to wear gloves or goggles can end in tears—or worse. Safety should always come first, so protect yourself.
Keep these pitfalls on your radar, and you’ll sail through the sharpening process like a pro. Now, let’s delve into some FAQs to clear up any lingering questions.
Conclusion
There you have it—an in-depth, no-nonsense rundown on how to sharpen garden shears with simple steps. It’s really not rocket science; all you need is the right gear, a steady hand, and a little bit of patience. Once you’ve sharpened your shears a few times, you’ll find it becomes second nature—and your garden will reap the benefits.
Remember, a clean, sharp cut isn’t just about aesthetics; it’s about plant health, efficiency, and prolonging the life of your tools. Plus, let’s face it, there’s something incredibly satisfying about snipping through stems like a pro. Give it a whirl, and you’ll see what I mean.
If you’re still on the fence, just think of the lovely, trimmed hedges and blossoming rose bushes that await you. By mastering how to sharpen garden shears with simple steps, you’ll soon be the envy of every gardener on the block. So don’t twiddle your thumbs any longer—get out there, grab those shears, and give them the tune-up they deserve. Happy pruning!
Frequently Asked Questions
Q1: How often should I sharpen my garden shears?
You’d be surprised how many people forget about sharpening altogether. Generally, for home use, aim for once or twice a season. But if you’re tackling heavy pruning or have a large property, you may need to sharpen more frequently. Just keep an eye on the cutting performance—if the shears start to struggle, it’s time for a touch-up.
Q2: Can I use a power grinder to sharpen my shears?
Sure, you can. But take note that power grinders can quickly overheat and damage the blade’s temper if you’re not careful. If you decide to use one, proceed with caution, make short passes, and keep the tool moving. The last thing you want is to destroy your shears in the blink of an eye!
Q3: What if my shears are rusty?
Rust isn’t the end of the world. Scrub it away gently with steel wool or a wire brush before sharpening. In extreme cases, you may need a rust remover solution. Once the rust is dealt with, your blade should be good as new—just don’t forget to apply that protective oil afterward.
Q4: Do I need a special file for pruning shears?
Not necessarily. A basic mill file works great, and a typical sharpening stone does too. If you want a specialized tool, you can find diamond-coated sharpeners designed for pruning shears, but it’s not mandatory.