How to Create a Bucket Garden for Fresh Herbs
Discover the ultimate DIY guide on How to Create a Bucket Garden for Fresh Herbs. Learn step-by-step techniques, expert tips, and creative ideas to bring fresh, aromatic herbs right to your doorstep!
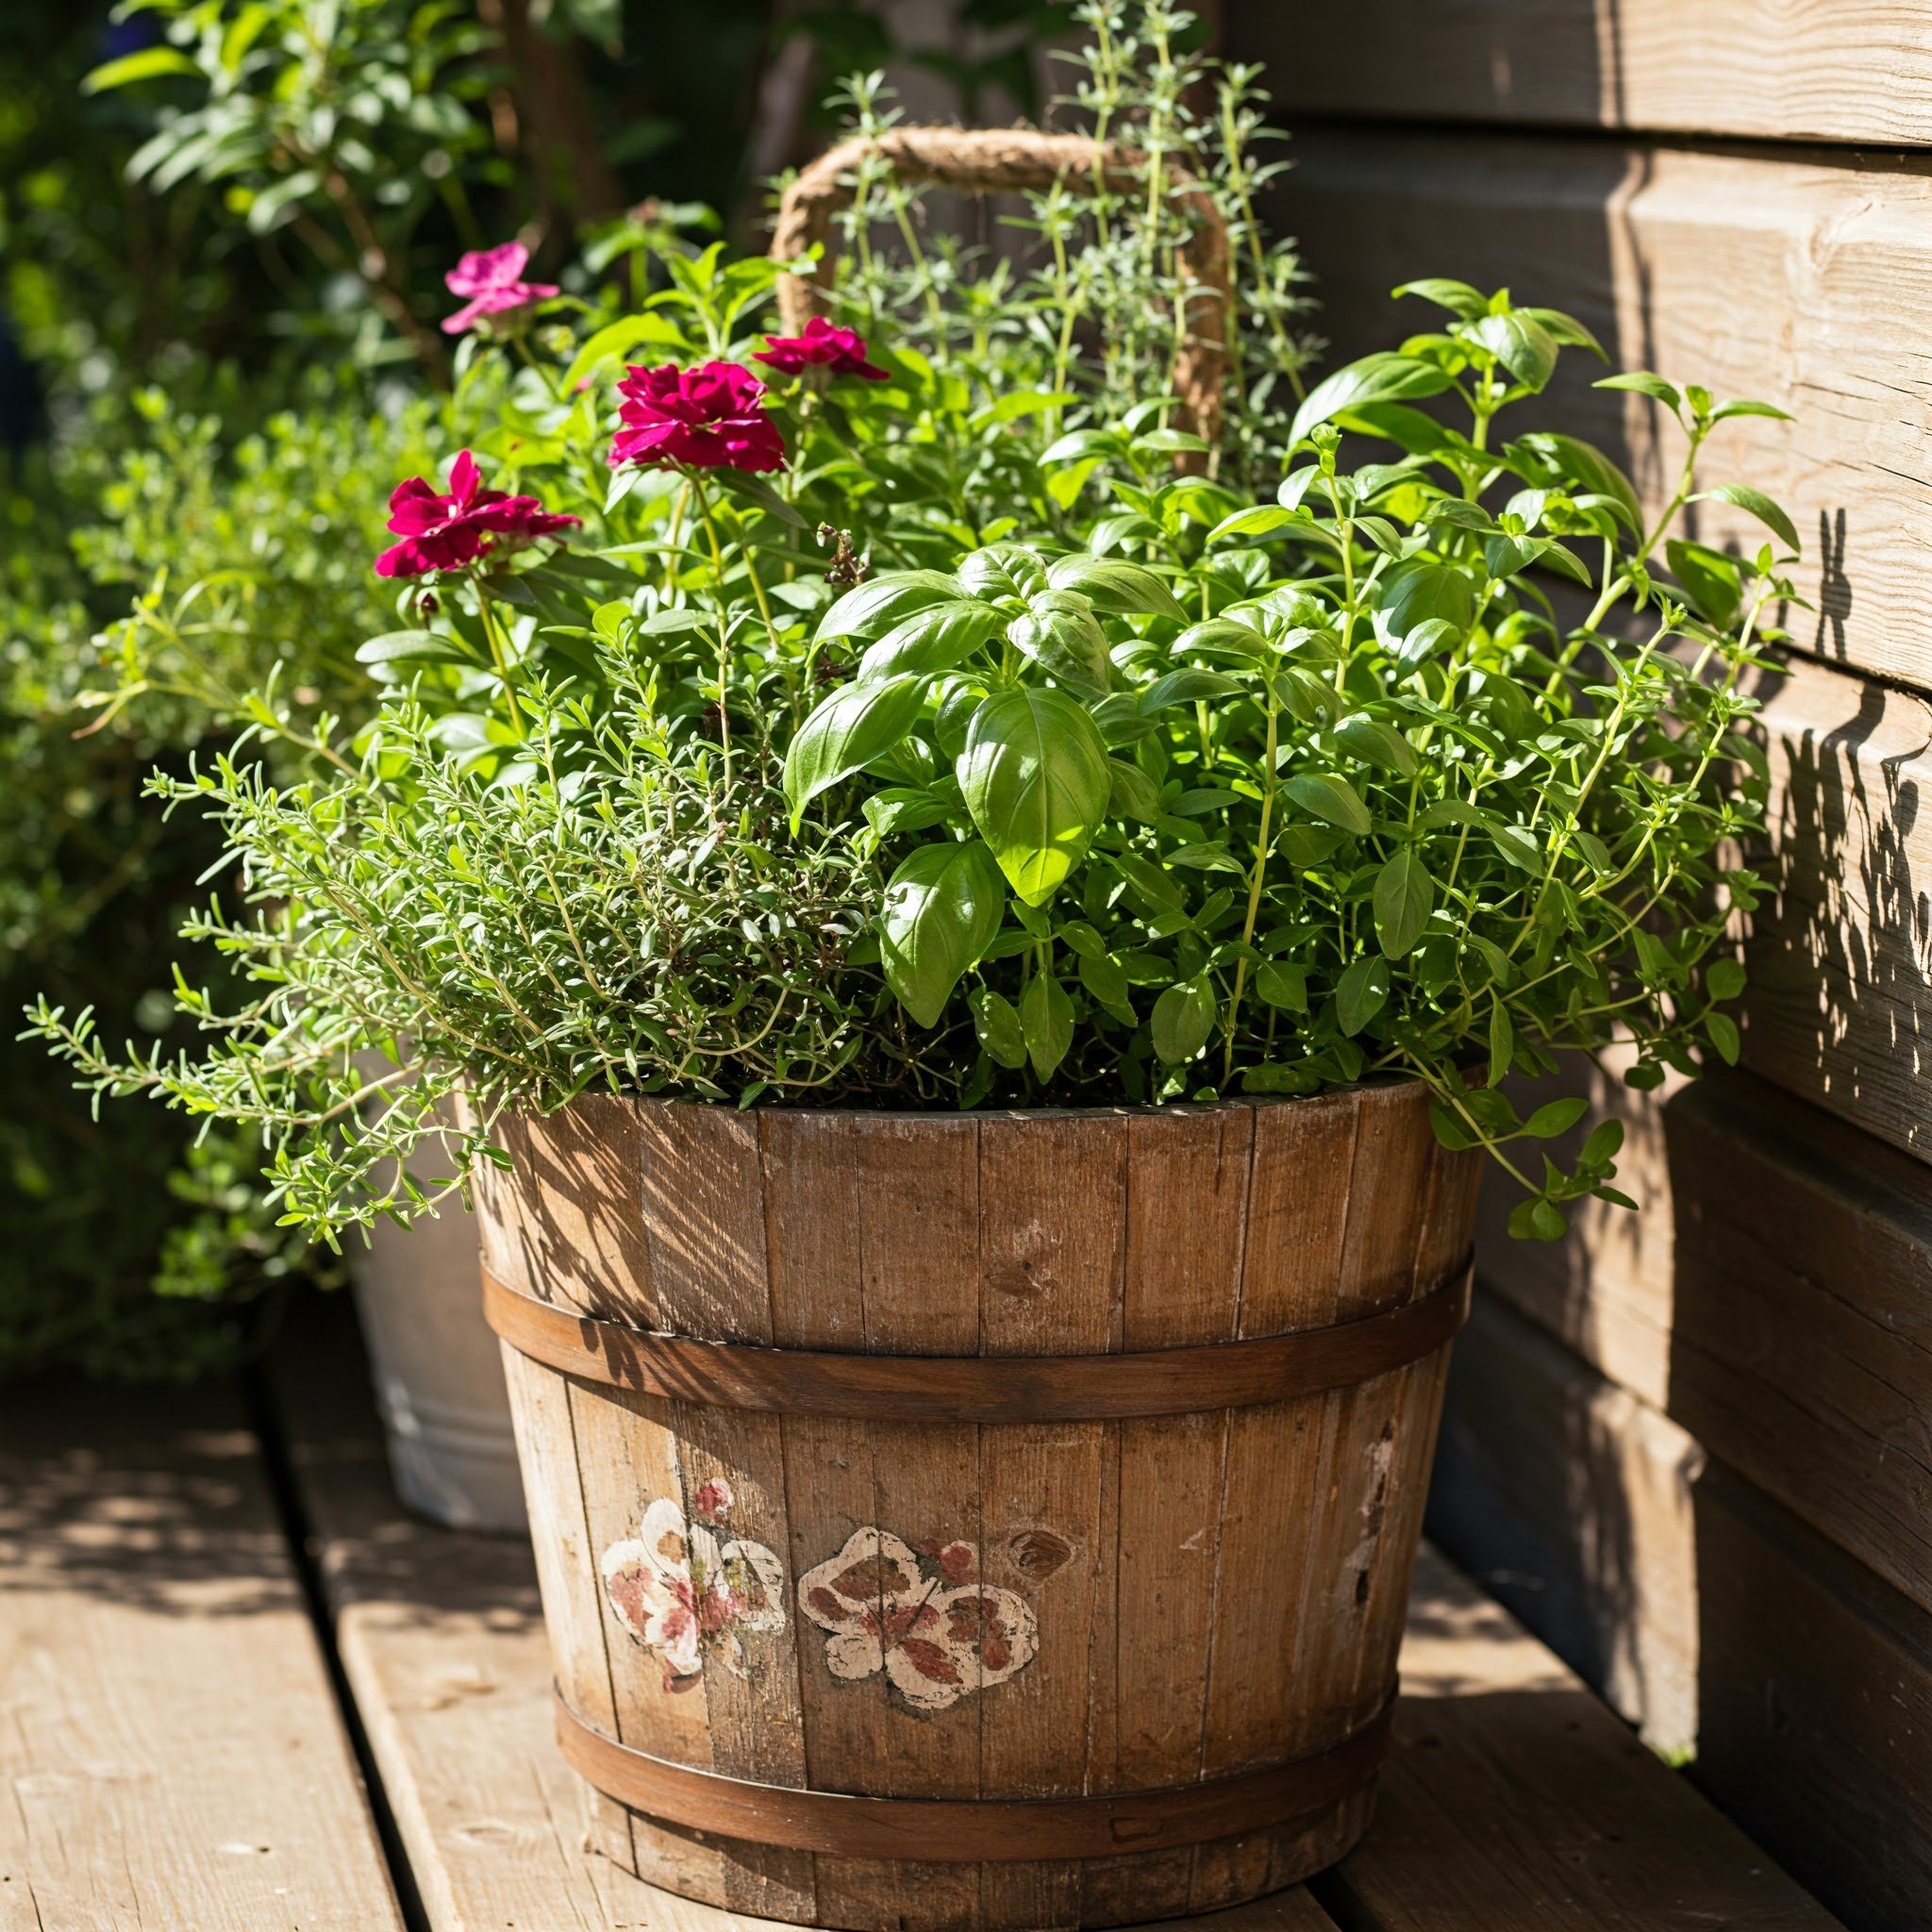
Ever dreamed of having your very own herb garden but felt constrained by space? Well, you're in luck! In today’s fast-paced world, urban living often leaves little room for sprawling gardens. That’s where the ingenious idea of a bucket garden comes into play. In this article, we’re diving headfirst into the creative world of container gardening with a detailed guide on How to Create a Bucket Garden for Fresh Herbs. Whether you're a seasoned green thumb or a curious newbie, this guide is chock-full of insights, quirky tips, and practical advice to help you transform a simple bucket into a thriving herb oasis.
We'll explore everything from the materials you need and the bucket selection process to the nitty-gritty of planting and maintaining your herbs. And, just between us, there’s something incredibly satisfying about harvesting your own basil or mint from a garden you built with your own two hands. So, roll up your sleeves, grab your favorite gardening gloves, and let’s jump right in!
Why a Bucket Garden?
For many, traditional gardens seem like a luxury that’s out of reach due to limited space, cost, or even a lack of gardening know-how. A bucket garden, on the other hand, is accessible, affordable, and downright fun. Here’s why:
Space-Saving: Whether you live in an apartment, a condo, or a house with a tiny balcony, a bucket garden fits anywhere.
Cost-Effective: Buckets are inexpensive and often recyclable, making them a great option for eco-conscious gardeners.
Customizable: You can decorate your bucket to match your style, turning a mundane container into a charming centerpiece.
Easy Maintenance: With proper care, herbs in buckets are easier to manage than those in sprawling garden beds.
The beauty of a bucket garden lies in its simplicity. You’re not just planting herbs; you’re creating a little patch of nature that fits right into your lifestyle. And believe it or not, learning How to Create a Bucket Garden for Fresh Herbs can be as therapeutic as it is practical.
How to Create a Bucket Garden for Fresh Herbs: Planning and Preparation
Before you get your hands dirty, it’s crucial to plan your garden. Preparation is key to ensuring your herbs flourish. Let’s break down the planning phase into manageable steps.
Materials You’ll Need
To kick things off, gather these supplies:
Buckets or Containers: Look for buckets with drainage holes (or be ready to drill some yourself).
Potting Soil: A well-draining soil mix is a must for healthy root development.
Herb Seeds or Seedlings: Choose herbs that suit your culinary tastes and local climate.
Watering Can or Sprayer: Consistent watering is essential.
Fertilizer: A balanced, slow-release fertilizer helps your herbs thrive.
Gardening Tools: Basic tools like trowels, gloves, and a small rake can make the process smoother.
Decorative Elements: Paint, stencils, or stickers to personalize your bucket garden.
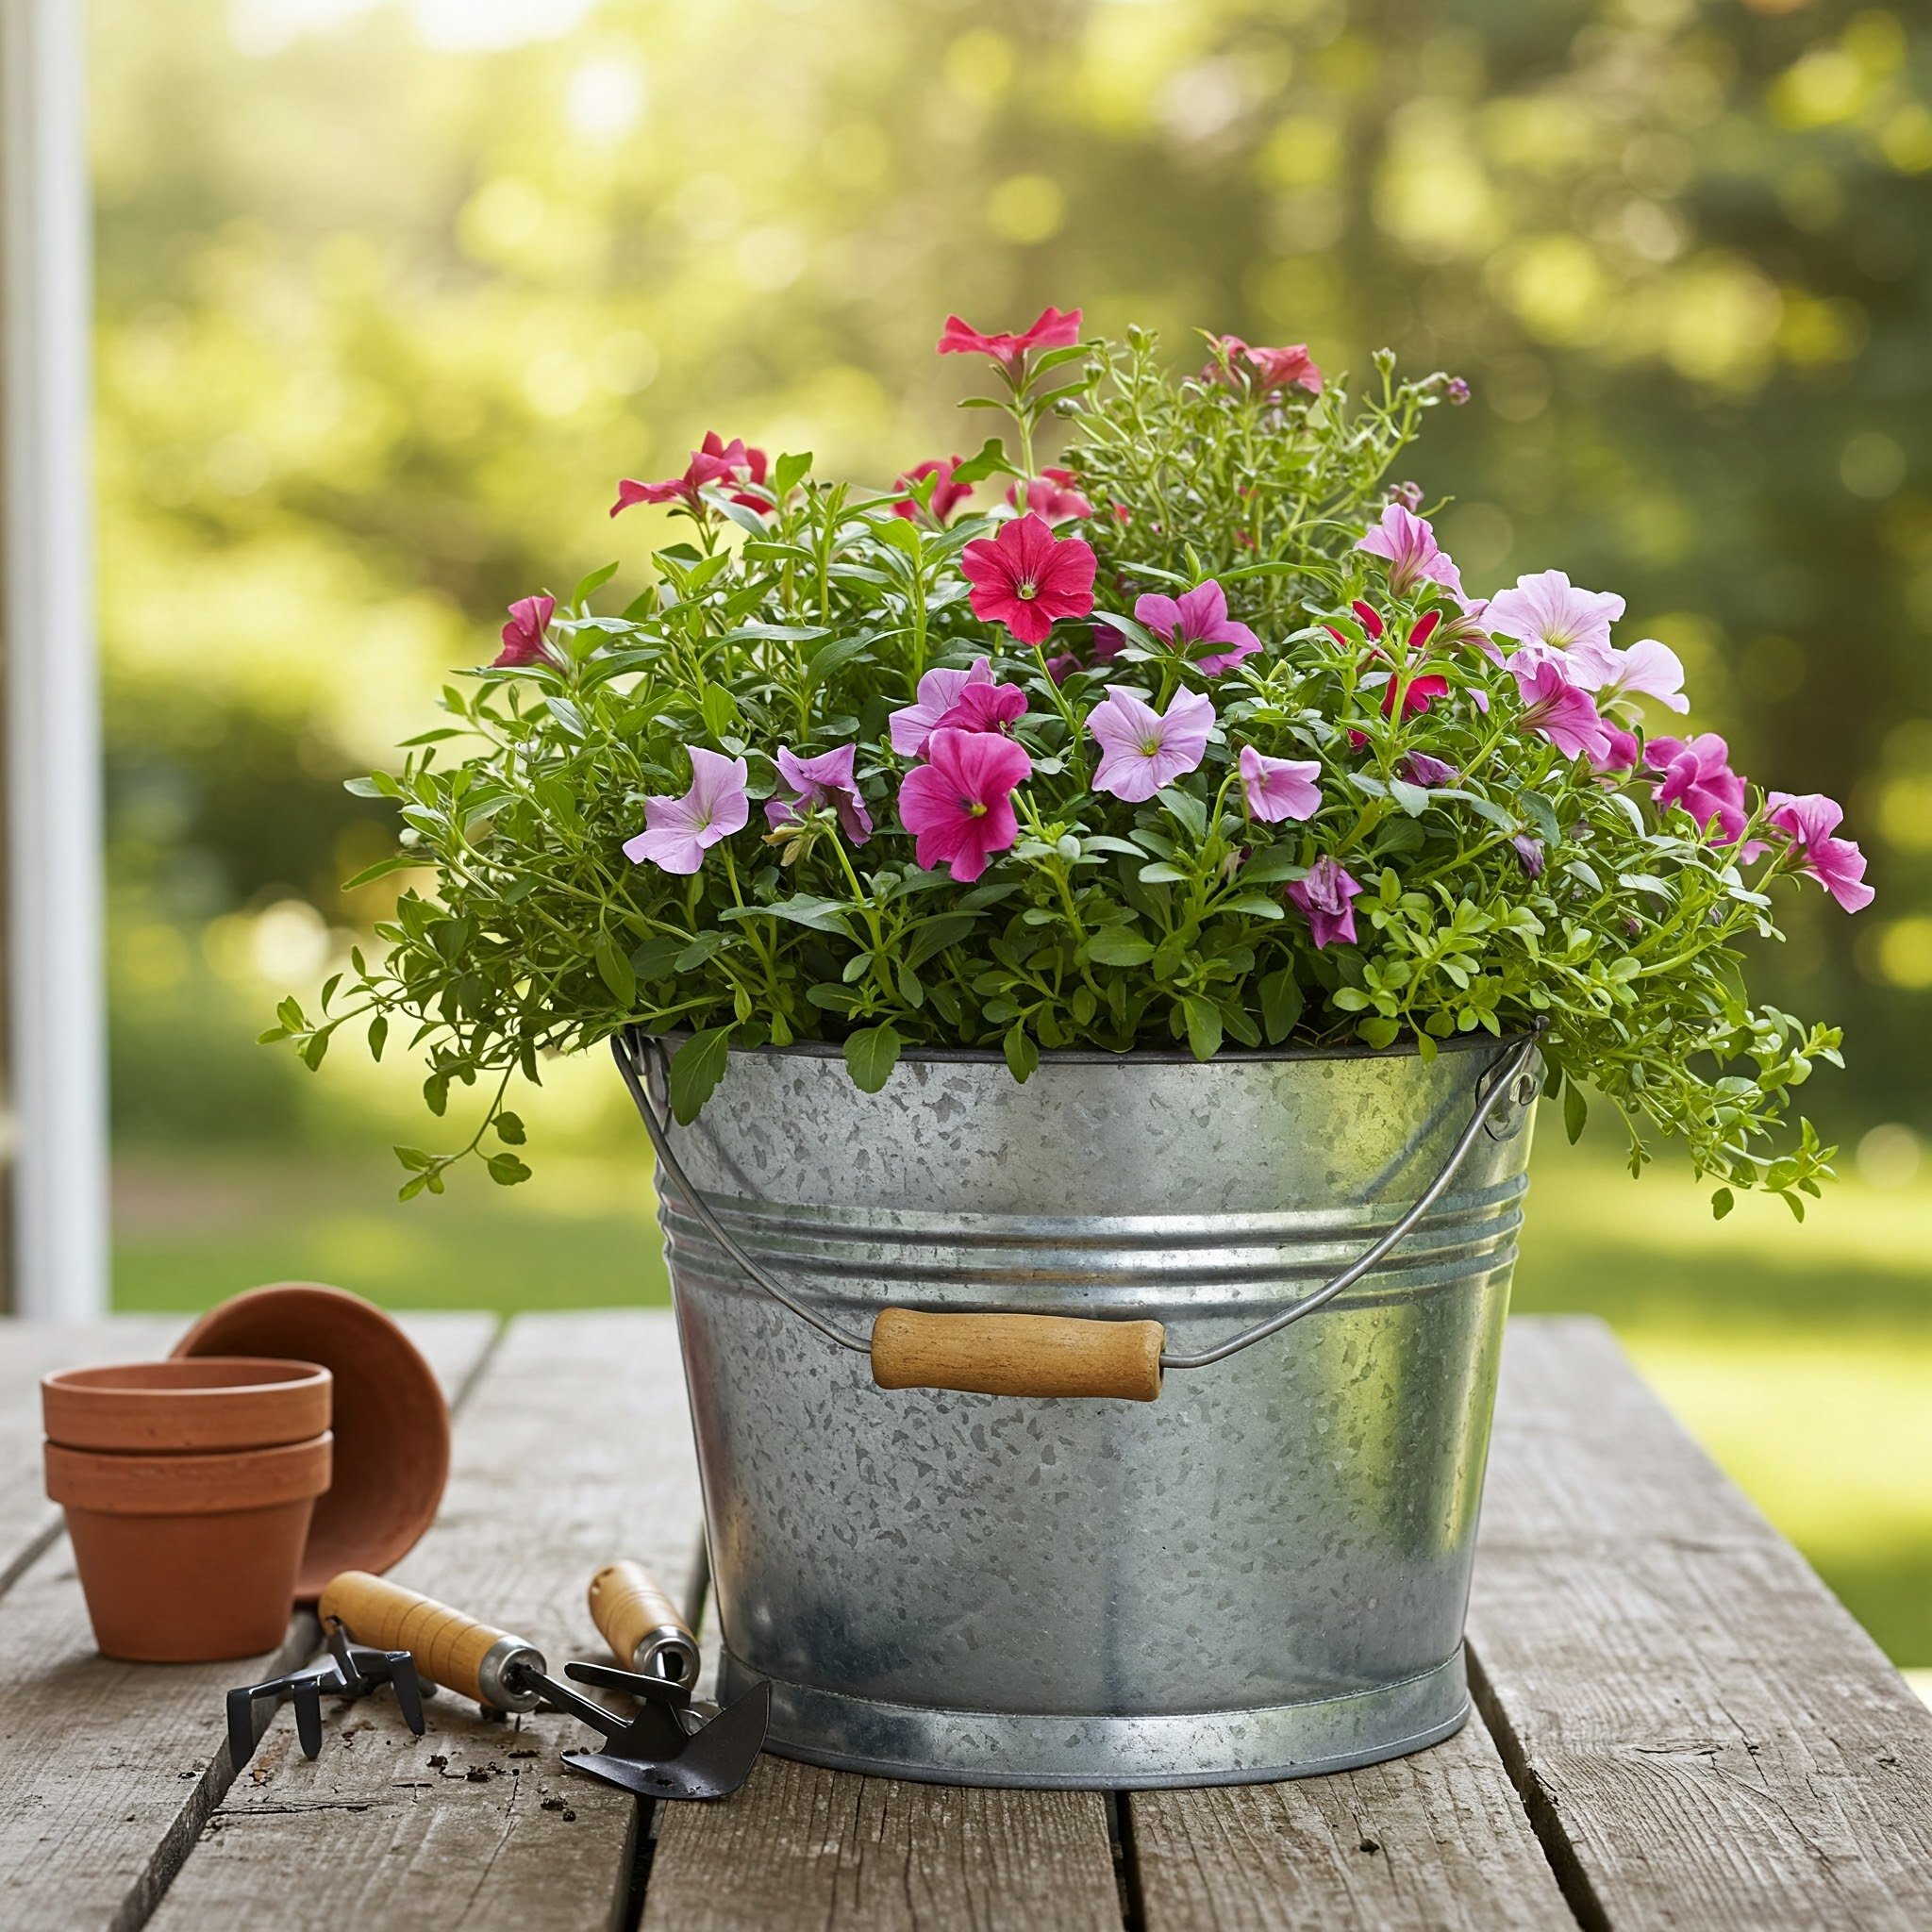
Choosing the Right Bucket
When it comes to picking a bucket, size matters—but so does style! Here are a few points to consider:
Material: Plastic buckets are lightweight and durable, but you can also use ceramic or even repurpose old barrels.
Size and Depth: Choose a bucket deep enough to allow roots to spread comfortably; around 12 to 18 inches in depth is ideal.
Drainage: Ensure your bucket has or can have drainage holes to prevent waterlogging.
Aesthetics: Since this is your personal herb haven, pick a bucket that speaks to your personality. A splash of paint here and there can transform a plain bucket into a work of art.
Remember, a well-chosen bucket not only supports your herbs but also boosts the overall look of your garden. After all, who says gardening can’t be chic?
Getting Down to Business: Step-by-Step Process
Now that we’ve covered the planning phase, let’s get our hands dirty! Here’s a step-by-step guide on How to Create a Bucket Garden for Fresh Herbs that’s easy to follow and bursting with creativity.
Step 1: Gathering Supplies and Tools
First things first—assemble your gear. Lay out your buckets, soil, seeds, and tools in a well-lit, organized space. This preparatory stage might seem trivial, but it sets the tone for a smooth gardening experience.
Checklist:
Buckets (with drainage holes)
Potting soil
Herb seeds/seedlings
Watering can or spray bottle
Fertilizer
Gardening tools (trowel, gloves, etc.)
Decorative elements (optional)
Step 2: Creating Drainage and Soil Mix
Proper drainage is the secret sauce of successful container gardening. Here’s how to ensure your bucket has just the right setup:
Drill Drainage Holes: If your bucket doesn’t already have drainage holes, grab a drill and add at least 4-6 holes evenly spaced at the bottom.
Add Gravel: Pour a layer of small pebbles or gravel into the bucket (about 2 inches) to promote drainage.
Soil Mixture: Fill the bucket with a high-quality potting mix that’s designed for container plants. You can mix in a bit of perlite or sand to improve drainage further.
Fertilizer: Gently mix in a slow-release fertilizer according to the package instructions. This ensures your herbs have a steady supply of nutrients right from the start.
Step 3: Planting Your Herbs
Now comes the fun part—planting! Decide whether you want to start from seeds or seedlings. Here are some tips:
Starting with Seeds: Sow seeds according to the instructions on the packet. Generally, sprinkle them lightly on the soil surface and cover with a thin layer of soil.
Using Seedlings: If you opt for seedlings, dig a small hole in the soil, gently place the seedling inside, and pat the soil around it.
Keep these points in mind while planting:
Spacing: Make sure to space your herbs according to their specific needs. Overcrowding can lead to stunted growth.
Labeling: It might sound old-fashioned, but labeling your herbs can save you from confusion later on.
Light Requirements: Most herbs love sunlight, so place your bucket garden in a sunny spot—at least 6 hours of direct light daily is ideal.
Step 4: Maintenance and Care
The journey doesn’t end once the seeds are in the soil. Maintaining your bucket garden is where the magic happens. Here’s a quick rundown on keeping your herbs healthy:
Watering: Consistent watering is key. Check the soil moisture daily, and water when the top inch of soil feels dry.
Fertilizing: Every few weeks, top up the fertilizer to ensure a steady nutrient flow.
Pruning: Regularly trim your herbs to encourage bushy growth and prevent them from getting leggy.
Pest Control: Keep an eye out for pests like aphids or spider mites. A natural insecticidal soap can do wonders if an infestation occurs.
By sticking to these maintenance tips, you’ll find that your bucket garden thrives, offering a steady supply of fresh herbs that enhance your meals and brighten your day.

How to Create a Bucket Garden for Fresh Herbs: Choosing the Best Herbs
Not all herbs are created equal when it comes to bucket gardening. Some thrive in confined spaces better than others. Here’s a handy list of popular herbs that are perfect for your bucket garden:
Popular Herb Choices
Basil: Perfect for Italian dishes and a must-have in any herb garden.
Mint: A versatile herb, though be cautious—mint can spread quickly!
Parsley: Great for garnishing and a source of vitamins.
Thyme: Ideal for seasoning and has a robust, earthy flavor.
Rosemary: A hardy herb that can handle a bit of neglect.
Chives: Adds a mild onion flavor, perfect for salads and soups.
Oregano: A staple in Mediterranean cooking.
Cilantro: Fantastic for fresh salsas and garnishes.
Pro Tips for Herb Selection
Compatibility: Some herbs, like mint, might overrun others, so consider planting them in separate buckets if needed.
Climate Considerations: Choose herbs that match your local climate to ensure they flourish.
Usage Frequency: Think about the herbs you use most often in your cooking. After all, the point is to have fresh ingredients on hand whenever you need them!
Tips and Tricks for a Thriving Bucket Garden
While the basics of How to Create a Bucket Garden for Fresh Herbs are straightforward, a few extra tips can make all the difference:
Location, Location, Location: Place your bucket garden where it can soak up the maximum amount of sunlight. A sunny windowsill, balcony, or patio is ideal.
Regular Rotation: If you have multiple buckets, rotate them every few weeks. This ensures even growth and prevents any one plant from hogging all the sunlight.
Seasonal Care: Adapt your watering and fertilizing schedule as the seasons change. In hotter months, your herbs may need more frequent watering, while cooler months might call for less.
Creative Touches: Don’t be afraid to get creative! Personalize your buckets with paints, decals, or even chalkboard labels. Not only does this make your garden more visually appealing, but it also helps you remember which herb is which.
Handy Checklist for Bucket Garden Success
Ensure buckets have proper drainage.
Use high-quality, well-draining potting mix.
Choose herbs that suit your climate and culinary needs.
Water consistently and adjust as needed.
Fertilize periodically with a slow-release formula.
Prune regularly to promote growth.
Rotate buckets to ensure even sunlight exposure.
Watch out for pests and treat them naturally.
With these practical tips, your bucket garden will soon be the envy of your neighborhood!
Conclusion
Creating a garden in a bucket might sound like a small-scale project, but its impact on your daily life can be huge. Not only do you get to enjoy the satisfaction of growing your own fresh herbs, but you also add a touch of green serenity to your living space. By following this guide on How to Create a Bucket Garden for Fresh Herbs, you’re well on your way to cultivating a mini herb haven that’s both practical and picturesque.
In a nutshell, this bucket garden project is all about simplicity and creativity. With a few inexpensive materials, a bit of planning, and a pinch of love, you can transform an ordinary bucket into an extraordinary garden. From the careful selection of buckets to the nurturing care of your herbs, every step of the process offers a rewarding experience that connects you with nature.
So, why wait? Embrace the adventure of container gardening and discover firsthand how gratifying it is to pluck a sprig of basil for your dinner or enjoy the refreshing aroma of mint in your tea. With the tips and tricks outlined above, you're set to make the most of your bucket garden. And remember, every great garden starts with a single seed—and a trusty bucket!
Happy gardening, and here’s to many delicious meals and cozy moments spent amongst your flourishing herbs.
Frequently Asked Questions
Q1: How often should I water my bucket garden?
A1: Generally, water your herbs when the top inch of soil feels dry. In hotter weather, you might need to water daily, whereas cooler months may require less frequent watering.
Q2: What kind of bucket is best for a herb garden?
A2: Look for a bucket that is at least 12 to 18 inches deep with proper drainage holes. Plastic buckets work great, but you can also opt for repurposed materials as long as they provide sufficient depth and drainage.
Q3: Can I mix different herbs in one bucket?
A3: Yes, you can mix herbs; however, be mindful of their spacing and growth habits. Some, like mint, can be invasive. It might be wise to plant them in separate buckets if you’re worried about one overtaking the others.
Q4: What if my herbs start to look leggy or unhealthy?
A4: Leggy herbs usually mean they’re not getting enough sunlight. Try repositioning your bucket to a sunnier spot and check that they’re receiving enough water and nutrients.
Q5: How do I handle pest infestations naturally?
A5: You can use insecticidal soaps or neem oil to treat minor pest issues. Always start with a small dose and observe the plant’s response before applying more broadly.