How to Grow and Care for Coreopsis in Your Garden
Discover how to grow and care for Coreopsis in your garden with our comprehensive guide. Learn about planting, watering, pruning, and troubleshooting for vibrant blooms all season long.

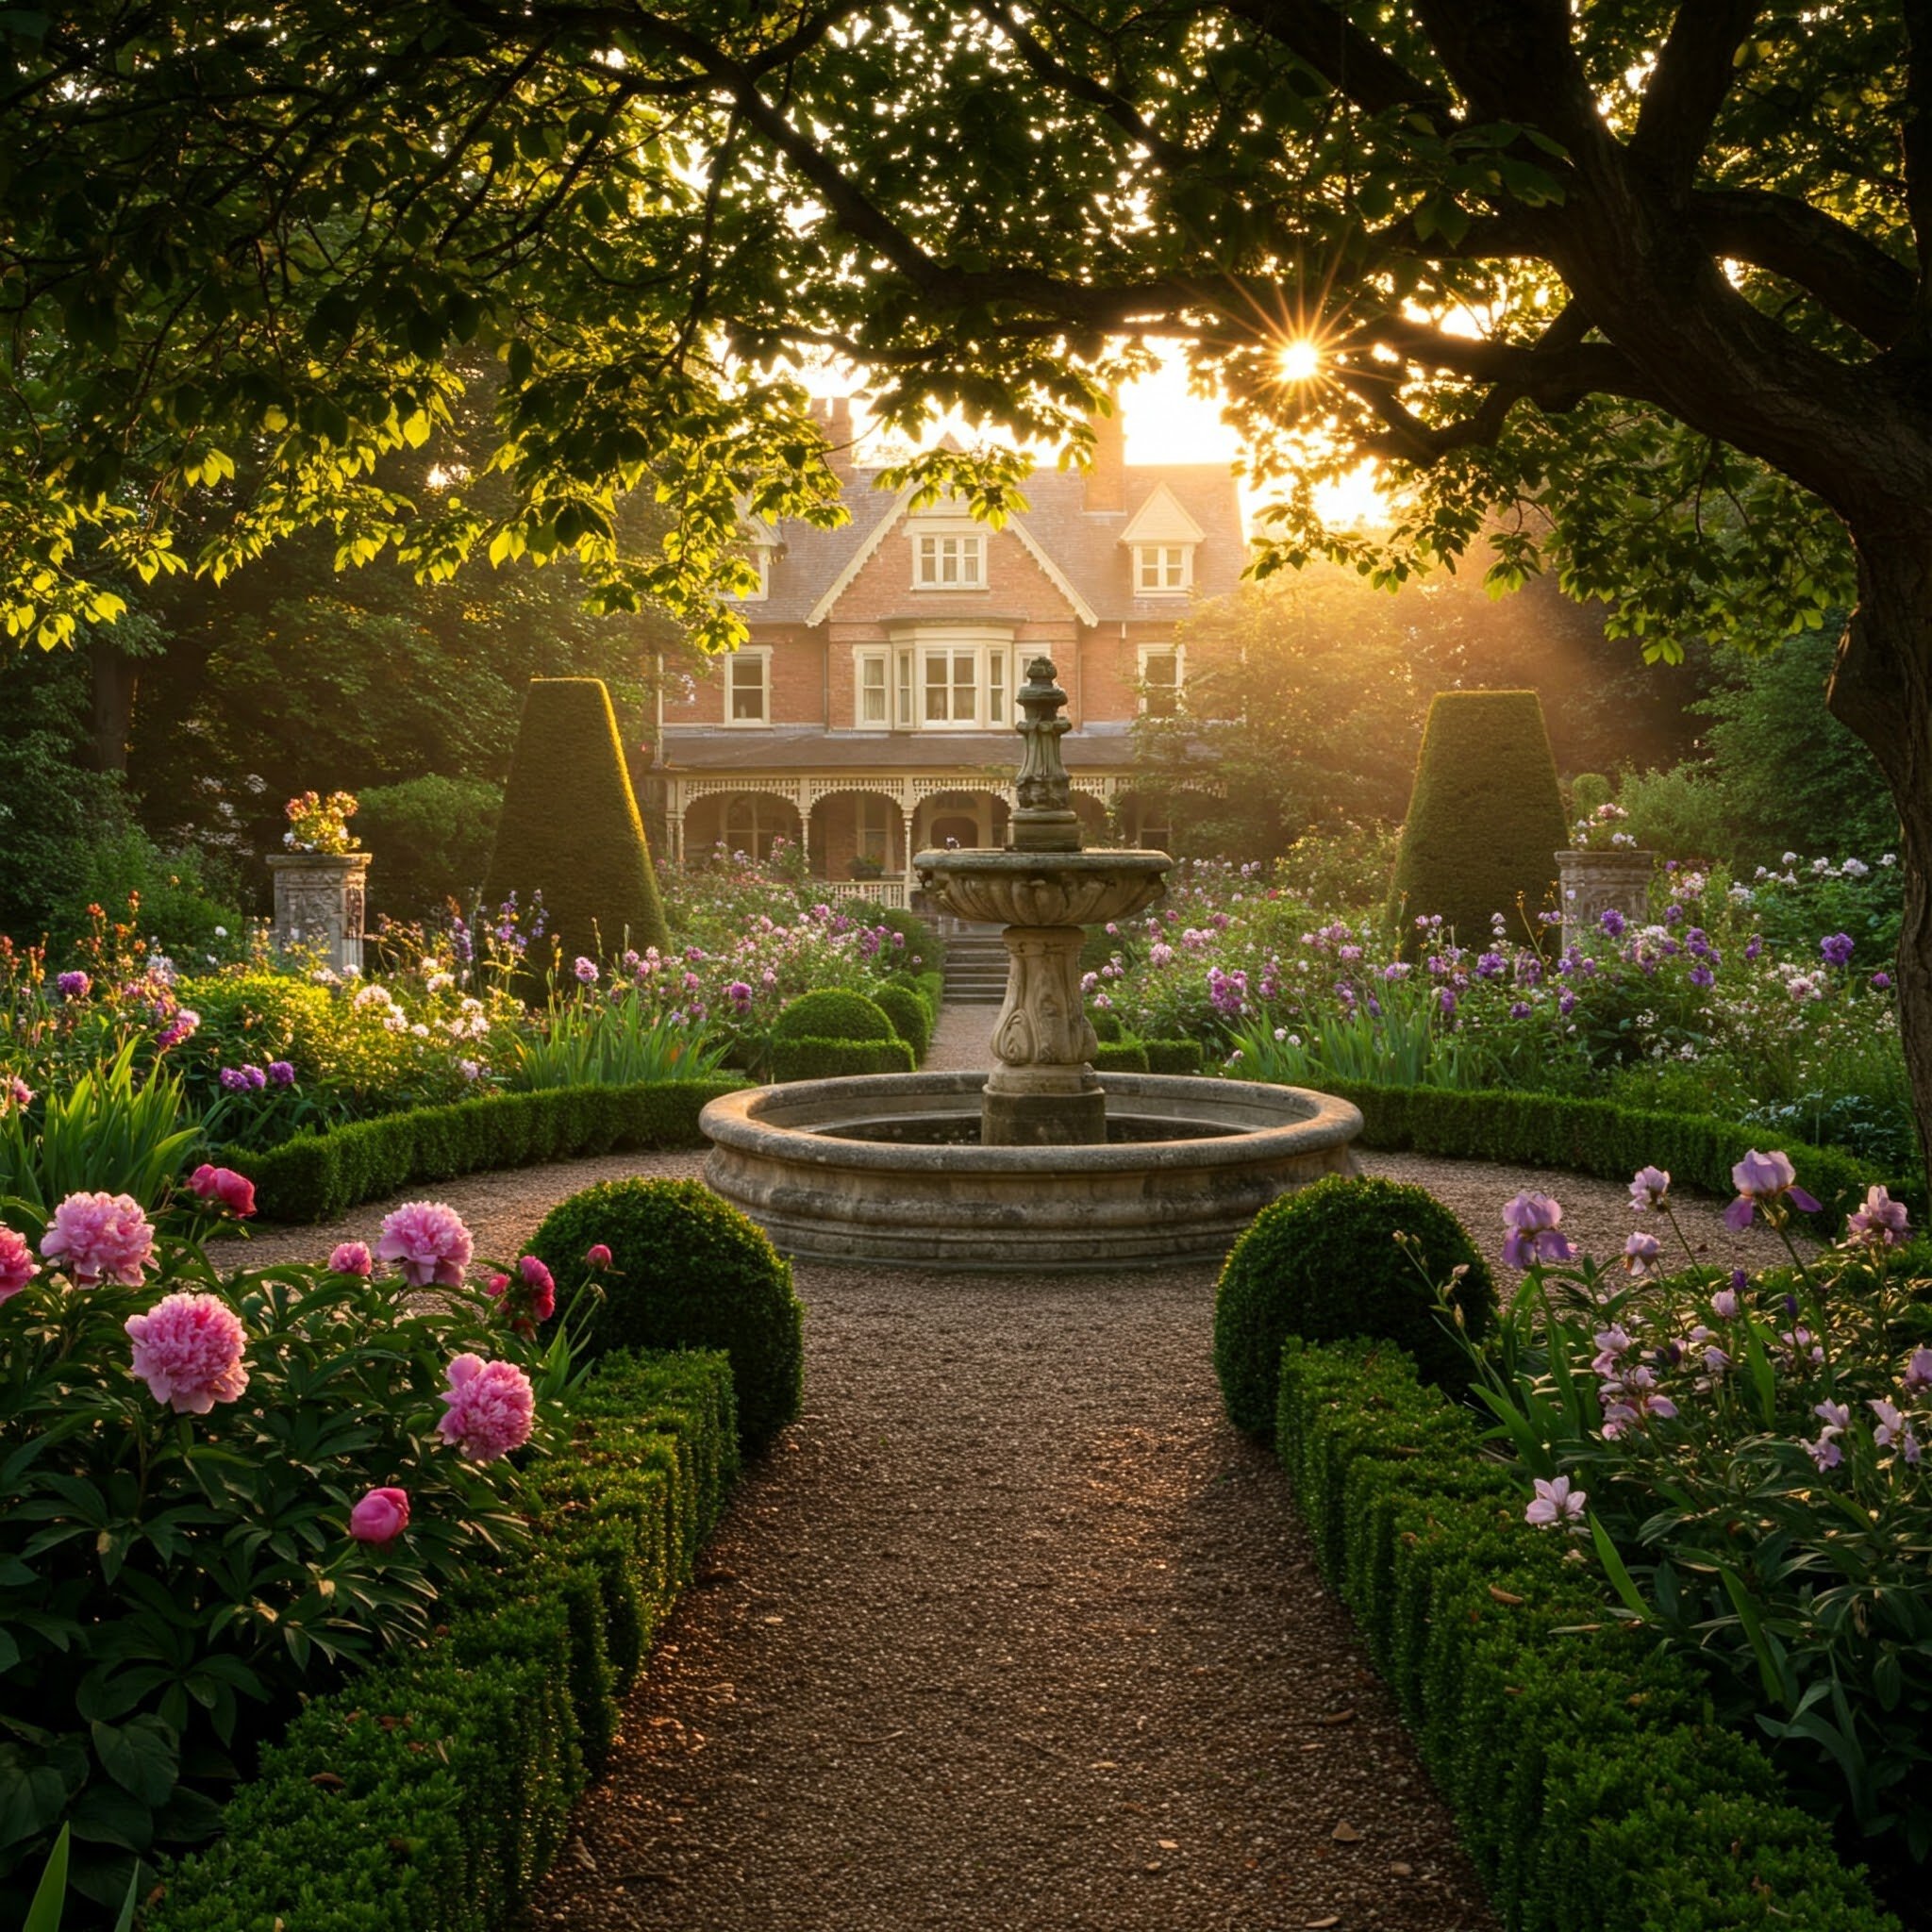
If you're looking to add a splash of color and a touch of charm to your garden, you can't go wrong with Coreopsis! Commonly known as tickseed, these delightful flowers are loved for their cheerful, daisy-like blooms that dance gracefully in the breeze. Plus, they’re not just pretty faces; Coreopsis plants are hardy, low-maintenance, and drought-tolerant, making them a favorite among both seasoned gardeners and novices alike.
In this guide on How to Grow and Care for Coreopsis in Your Garden, we’ll cover everything you need to know—from selecting the right variety to planting, watering, and troubleshooting common issues. So, grab your gardening gloves and let’s dig in!
What Makes Coreopsis Special?
1. Versatility
Coreopsis is a versatile flower that showcases a wide range of species and cultivars, each presenting its unique colors and growth habits. From low-growing ground covers that spread joyfully across your garden to tall perennial blooms that stand proudly in borders, there's a Coreopsis variety to suit every landscape. Their bright, cheerful flowers and resilience make them an excellent choice for adding color and texture to any garden setting.
2. Attracts Pollinators
These vibrant flowers are a magnet for butterflies, bees, and other beneficial insects, making them an excellent addition to any garden. By planting Coreopsis, you not only enhance the visual appeal of your landscape but also contribute to creating a lively ecosystem that supports pollinators. Their bright blooms provide essential nectar, helping to attract and sustain these helpful creatures, which in turn promote healthy plant growth and biodiversity in your garden.
3. Long Blooming Season
Coreopsis boasts a long blooming season, typically from late spring to early fall, providing vibrant color to your garden for an extended period. With proper care, including deadheading spent flowers and ensuring adequate sunlight and well-drained soil, you can enjoy their sunny faces for months on end. This resilience makes Coreopsis a favorite among gardeners, as they effortlessly brighten up landscapes while requiring minimal maintenance throughout the growing season.
4. Low Maintenance
Once established, Coreopsis is relatively low-maintenance, making it a perfect choice for busy gardeners. These hardy plants are drought-tolerant and thrive in various soil types, from sandy to clay. Their ability to withstand dry conditions means less frequent watering, allowing you to enjoy a vibrant garden without the hassle of constant upkeep. With their resilience and adaptability, Coreopsis can flourish in a variety of landscapes, providing lasting beauty with minimal effort.

How to Grow and Care for Coreopsis in Your Garden
Step 1: Choosing the Right Variety
Before you plant, it’s essential to select the right Coreopsis variety for your garden. Here are a few popular types:
Coreopsis grandiflora: Coreopsis grandiflora, commonly referred to as “large flowered tickseed,” is renowned for its stunning large golden-yellow blooms. Thriving in full sun, this variety adds vibrant color to gardens and attracts pollinators, making it a favorite among gardeners looking to enhance their outdoor spaces with cheerful, eye-catching flowers.
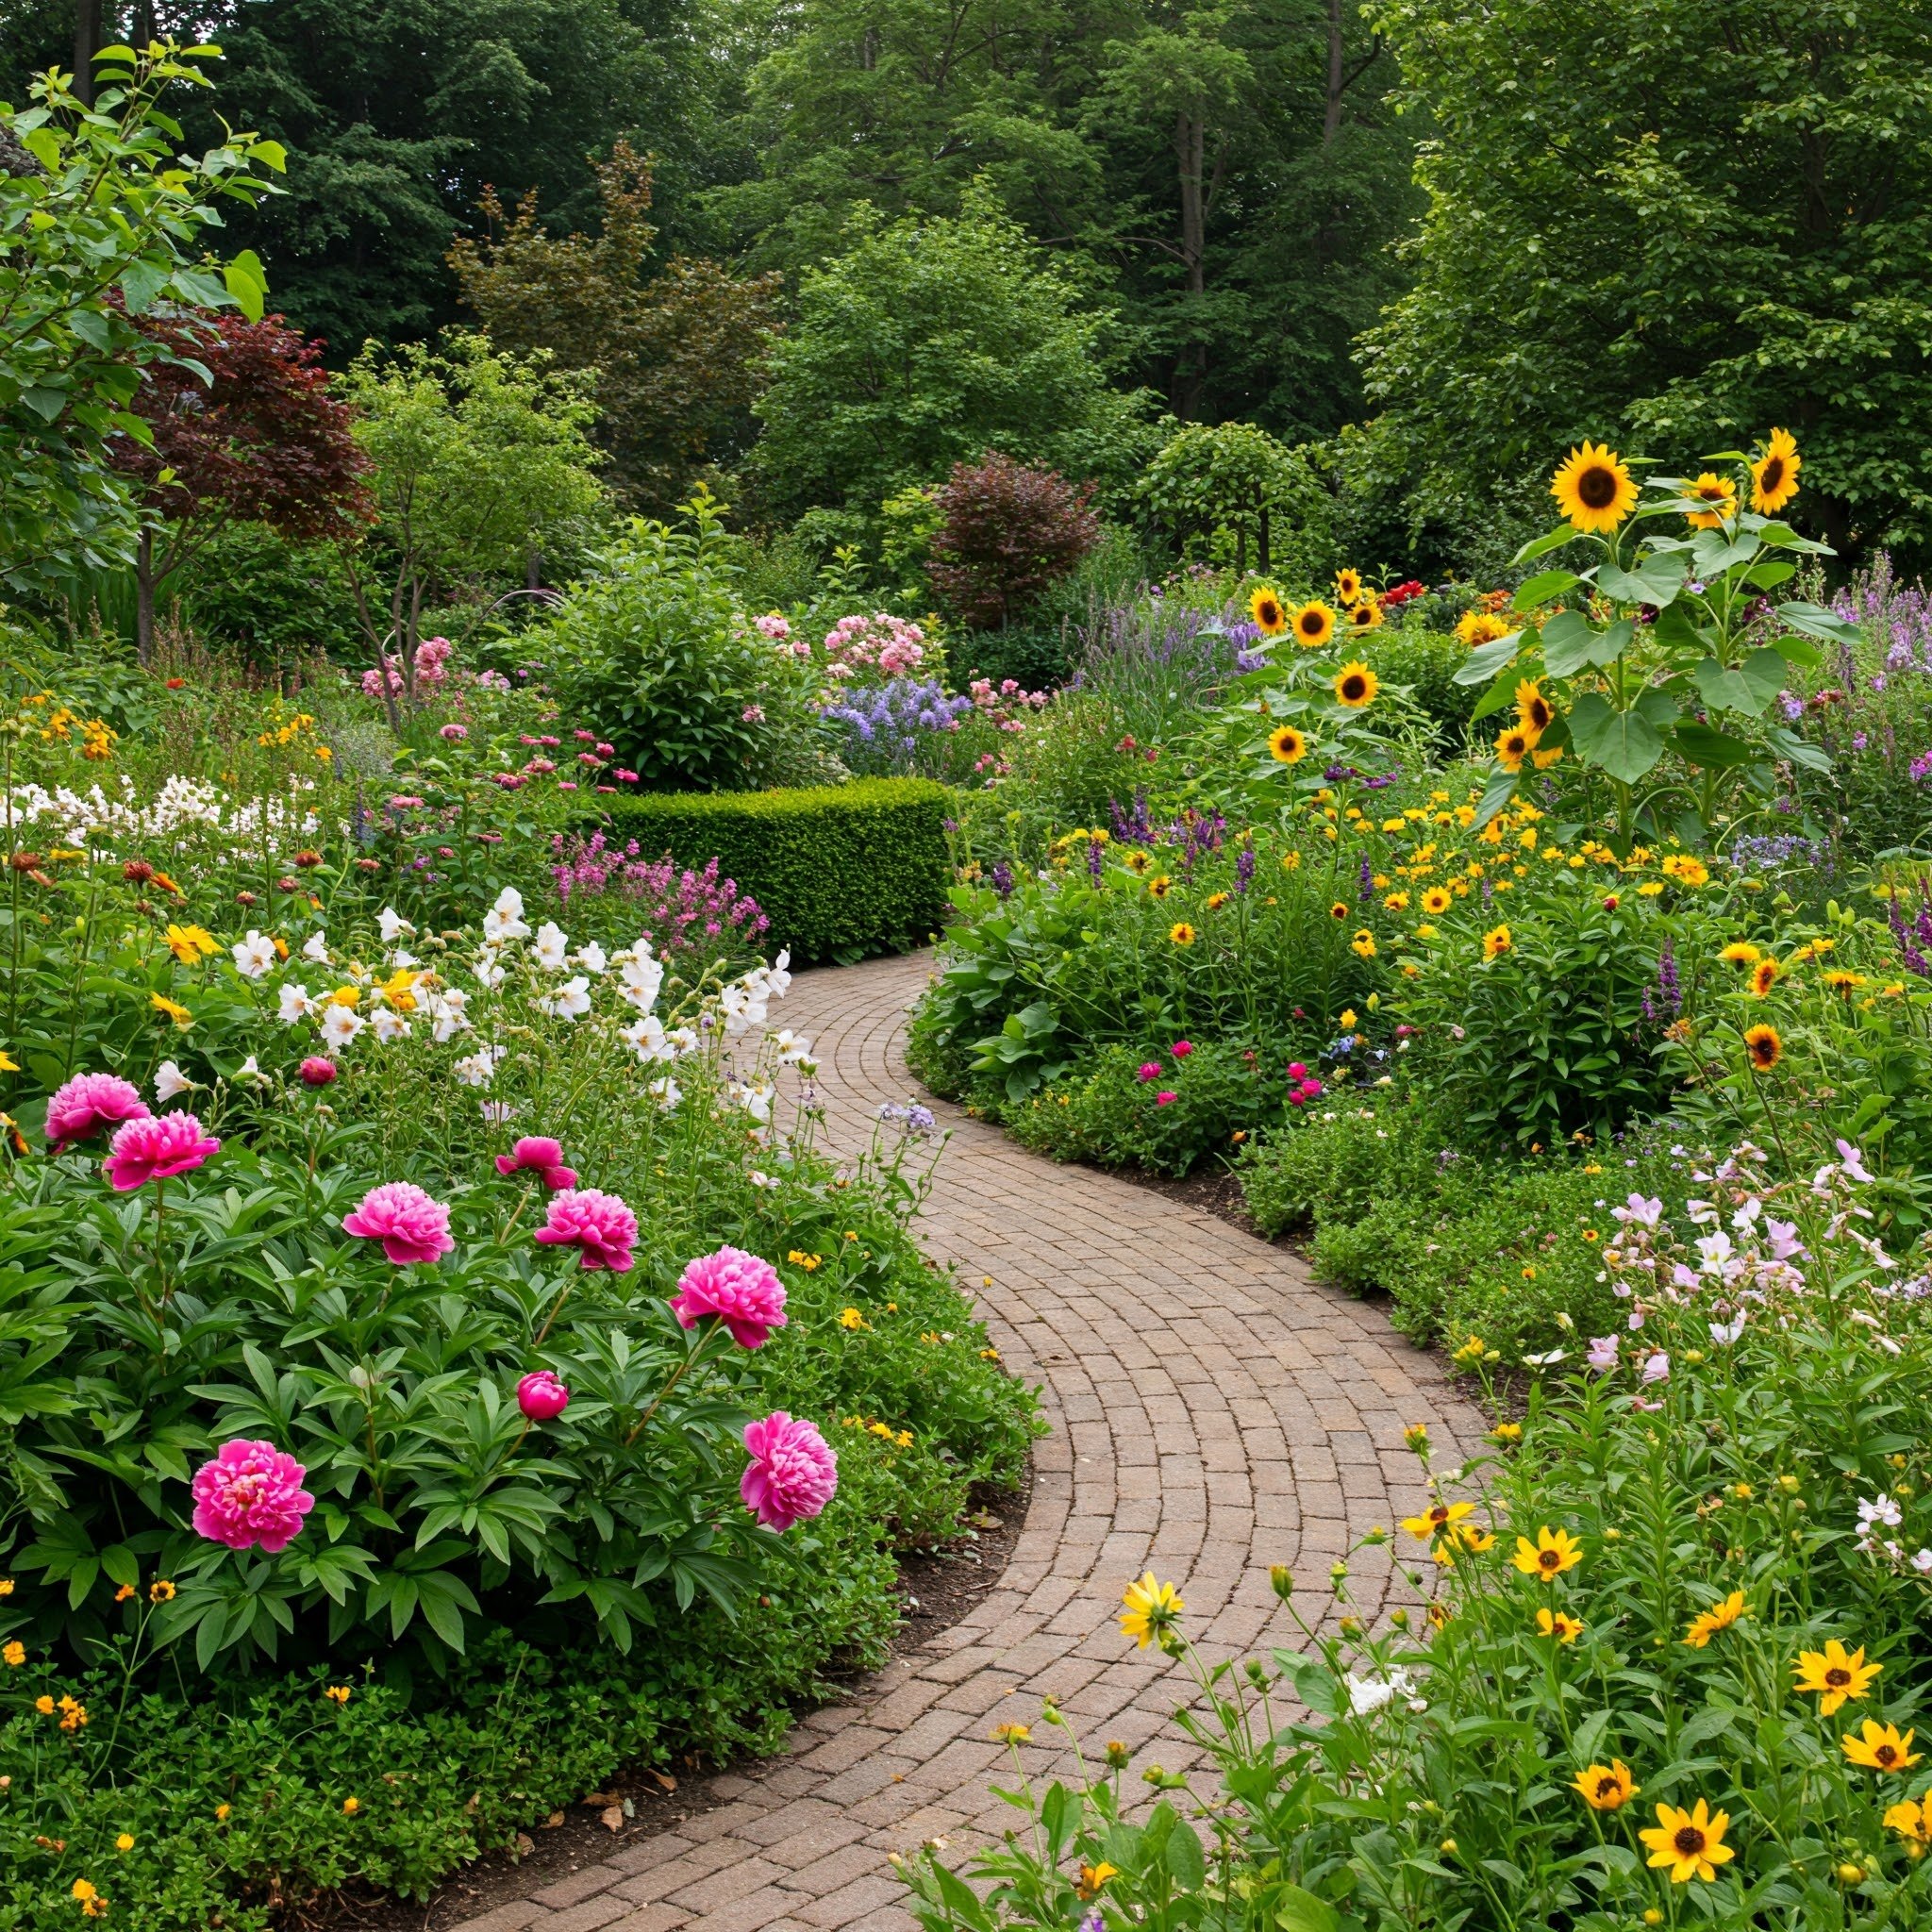
Coreopsis verticillata: Coreopsis verticillata, commonly known as “threadleaf tickseed,” features delicate, thread-like leaves and produces a profusion of small, cheerful flowers. This variety is perfect for borders and garden beds, as it not only adds texture but also attracts butterflies, enhancing the beauty of your outdoor space.
Coreopsis lanceolata: Coreopsis lanceolata, or “lance-leaved tickseed,” is known for its vibrant yellow flowers and narrow, lance-shaped leaves. This hardy variety thrives in wildflower gardens, adding a cheerful splash of color and attracting pollinators, making it an excellent choice for naturalized landscapes.
Step 2: Planting Coreopsis
When to Plant
Spring or Fall: The best time to plant Coreopsis is in either spring after the last frost or in the fall about six weeks before the first frost. This allows the plants to establish themselves before extreme weather sets in.
Choosing the Right Location
Sunlight: Coreopsis thrives in full sunlight, so it's essential to select a location that receives at least 6-8 hours of direct sunlight each day. This ensures robust growth and abundant blooms, allowing these cheerful flowers to reach their full potential.
Soil: Coreopsis plants prefer well-draining soil, though they are adaptable to various soil types. If you have heavy clay soil, amending it with compost can enhance drainage, promoting healthier growth and ensuring your Coreopsis thrive in your garden.
Planting Steps
Prepare the Soil: Loosen the soil in your chosen location and mix in organic compost to enhance fertility.
Dig the Holes: Dig holes that are about 1-2 feet apart for individual plants. If you’re planting multiple plants, make sure to follow the spacing guidelines on the seed packet or plant label.
Plant the Seeds or Transplants: If you’re starting from seeds, follow the instructions for depth. For transplants, gently remove the plant from its container, place it in the hole, and cover it with soil.
Water: Give your newly planted Coreopsis a good watering to help settle the soil around the roots.
Step 3: Watering Coreopsis
While Coreopsis is drought-tolerant once established, they still need regular watering during the initial growth phase. Providing consistent moisture helps them establish strong roots, ensuring healthier plants that can thrive in drier conditions later on.
Watering Schedule: Water your Coreopsis plants deeply once a week, allowing the soil to dry out between waterings. Overwatering can lead to root rot, so be cautious!
Mulching: Applying a layer of mulch around the plants can help retain moisture, suppress weeds, and regulate soil temperature.

Step 4: Fertilizing Coreopsis
Coreopsis doesn’t require heavy fertilization, but applying a balanced, slow-release fertilizer in early spring can promote healthier blooms. This gentle boost will help your plants thrive and encourage a more vibrant and prolonged flowering season.
Use a Balanced Fertilizer: In the spring, apply a slow-release, balanced fertilizer (like a 10-10-10 formula) to provide essential nutrients.
Organic Options: Alternatively, you can use compost or well-rotted manure to enrich the soil naturally.
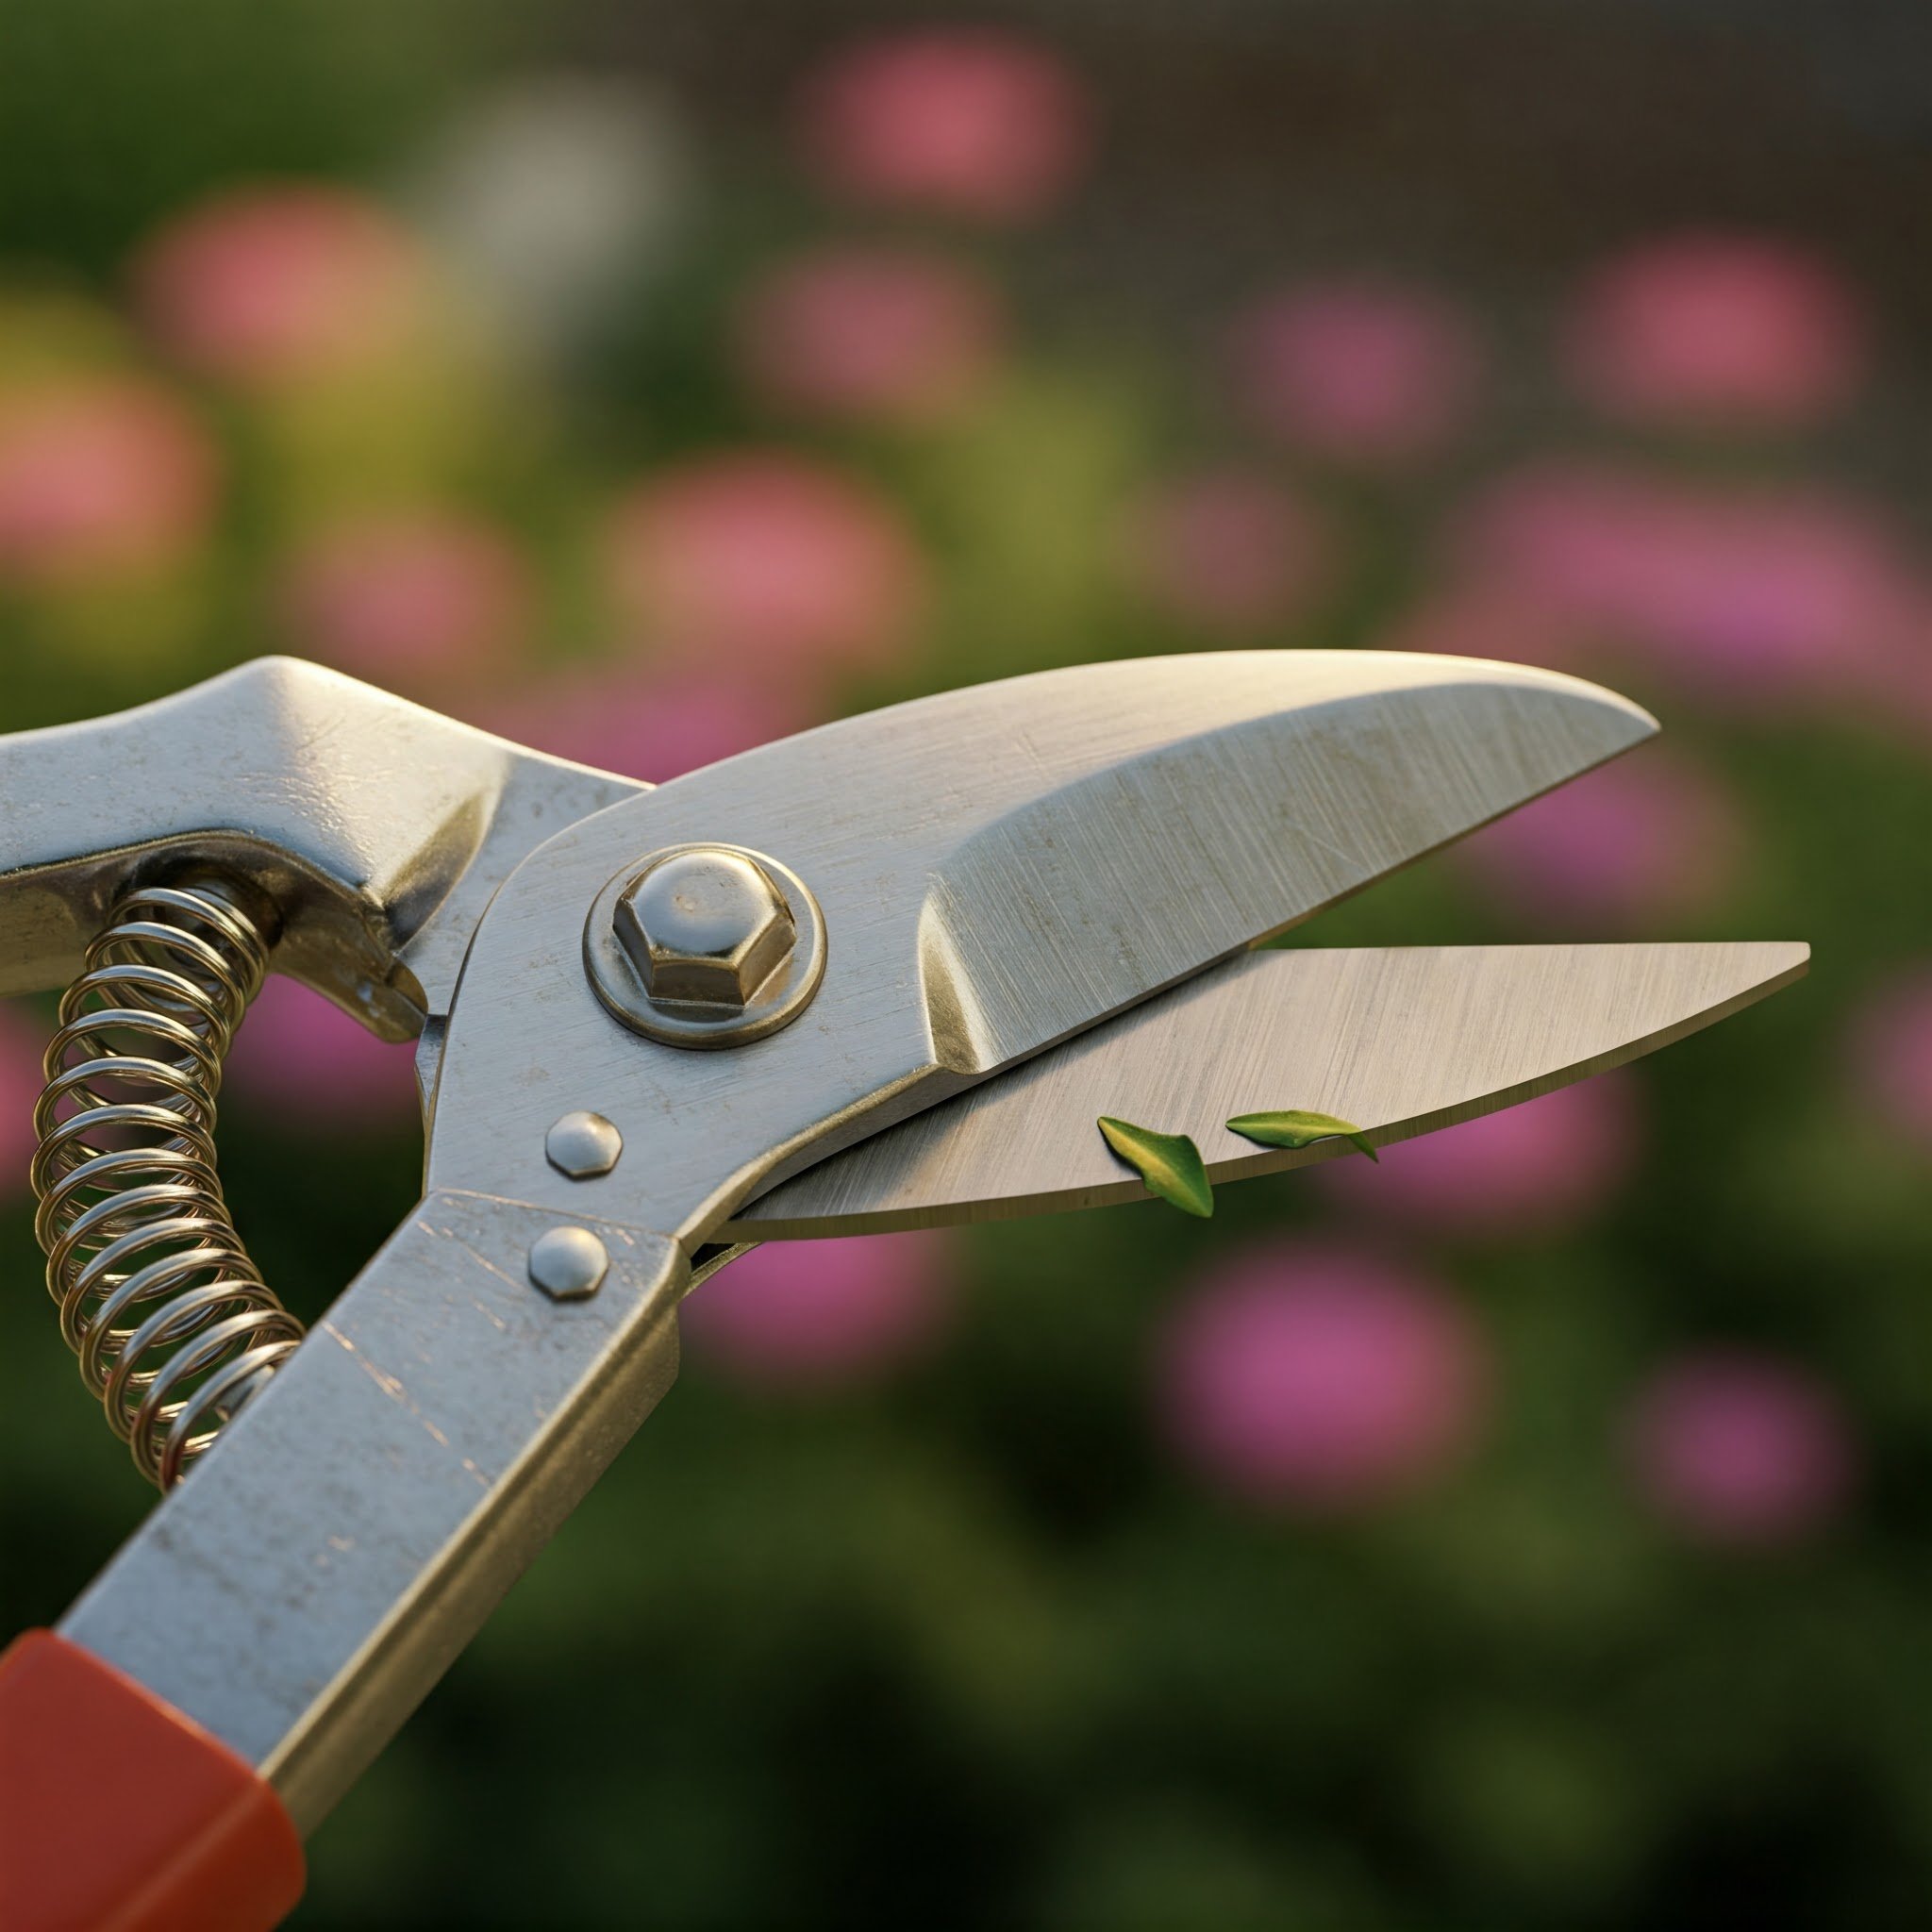
Step 5: Pruning and Deadheading
Keeping your Coreopsis plants healthy and vibrant is all about proper maintenance. Regular deadheading encourages continuous blooming, while occasional division every few years helps rejuvenate the plants and promote fuller growth. Proper care ensures they remain a stunning addition to your garden.
1. Deadheading
What Is Deadheading?: Deadheading is the process of removing spent flowers to encourage new growth and blooms.
When to Deadhead: As soon as you notice flowers starting to fade, snip them off at the base. This will stimulate the plant to produce more flowers throughout the growing season.
2. Pruning
Cutting Back: In late fall, after the first frost, cut back the plants to about 4-6 inches above the ground. This helps prepare them for the winter months and promotes healthy growth in spring.
Step 6: Pest and Disease Management
Coreopsis plants are generally resistant to pests and diseases, but a few issues can arise. Here’s what to look out for:
Common Pests:
Aphids: These tiny insects can suck the sap from your plants. If you spot them, consider using insecticidal soap or neem oil to control the infestation.
Spider Mites: If leaves appear dusty and you notice fine webbing, you may have spider mites. Increase humidity around the plants and use a strong spray of water to dislodge them.
Diseases:
Powdery Mildew: This fungal disease can occur in humid conditions. To prevent it, ensure proper air circulation and avoid overcrowding.
Root Rot: Overwatering can lead to root rot. Ensure good drainage and water only when necessary.

Step 7: Preparing for Winter
Depending on your climate, preparing your Coreopsis plants for winter is essential. In colder regions, cut back the foliage to about 4-6 inches above the ground and apply a layer of mulch to protect the roots from harsh temperatures.
Mulch: Adding a thick layer of mulch in late fall can help insulate the roots from freezing temperatures.
Cut Back: As mentioned earlier, cut back the foliage after the first frost to prevent winter damage.
Conclusion
Growing Coreopsis in your garden can bring a burst of color and cheer to your landscape. With their low maintenance needs and stunning blooms, these hardy perennials are perfect for gardeners of all skill levels.
By following the tips outlined in this guide on How to Grow and Care for Coreopsis in Your Garden, you’ll be well on your way to creating a vibrant and thriving garden. So don’t hesitate—get out there, plant some Coreopsis, and enjoy the beauty they bring! Happy gardening!
Frequently Asked Questions
1. Can Coreopsis grow in shade?
Coreopsis prefers full sun but can tolerate partial shade. However, you may notice fewer blooms in shadier conditions.
2. How long does it take for Coreopsis to bloom?
Most Coreopsis varieties will bloom within 6-8 weeks of planting, depending on the conditions and the specific type.
3. Is Coreopsis deer-resistant?
Yes, Coreopsis is generally considered deer-resistant, making it a great choice for gardens in areas with deer populations.
4. Can I propagate Coreopsis?
Absolutely! Coreopsis can be propagated through division in the spring or by collecting seeds once the flowers have faded.
5. How do I know if my Coreopsis is getting enough water?
If the leaves are wilting or turning yellow, it might be a sign of either overwatering or underwatering. Check the soil moisture to assess the situation.